This content is viewable by Everyone
Box: External Collaborators
- Audience: Affiliate, Faculty, Non-UCSF, Staff, Student
- Service Category: Business Applications
-
Service:Box: Cloud Storage
What you need to know
For UCSF Box users
- If you want to use UCSF Box with an external collaborator, invite the person to your shared folder.
- Type the person's email into the text box where you'd usually invite a UCSF collaborator. This sends an email that invites the person to collaborate on your folder.
- Next, direct the person over to this same page for instructions on how to set up his or her own Box account. (External collaborators: See For external collaborators below.)
Once the person's Box account is set up, you can add him or her to your folder as a collaborator, as if the person were a part of UCSF.
Note: This method does not work if you are trying to share restricted data with a non-UCSF collaborator. Learn more about how to use one of our suggested workarounds instead.
If your external collaborator (1) just needs read-only access to your files and (2) does not need the ability to edit your files, you can use a shared link instead.
For external collaborators
If you are external to UCSF and need the ability to edit Box data, you will need an account to be able to upload files and make changes. Follow the instructions below to set up a free Box account.
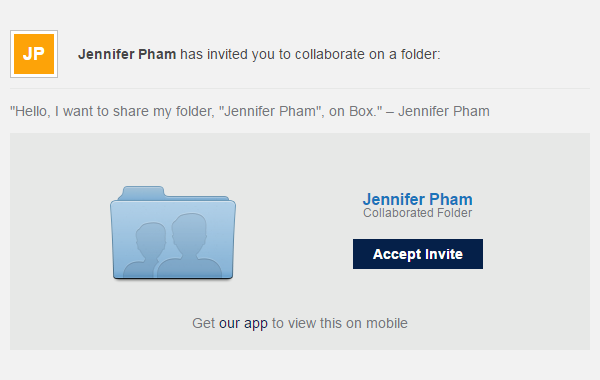
- You will receive an email from your UCSF collaborator that looks like the one below.
- Click on Accept Invite.
- You will be directed to the page shown below.
4. Click on the lower section that says, Not a part of University of California, San Francisco?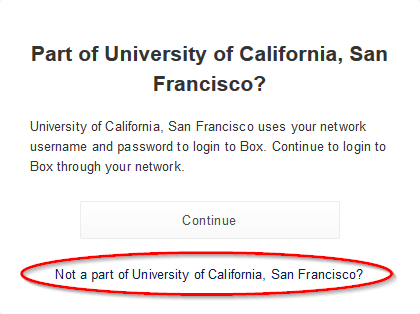
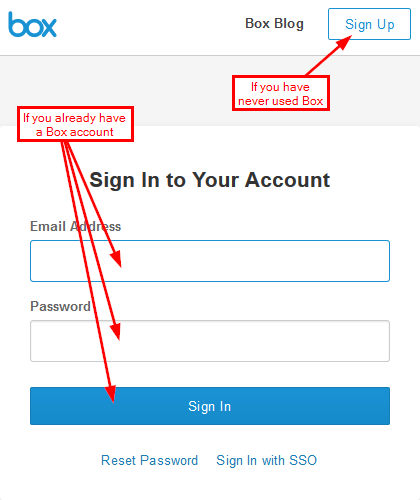
5. If you already have a Box account, log into your account on the login screen shown below. Once logged in, you will be directed to your UCSF-owned file.
6. If you do not yet have a Box account associated with the email address that the UCSF collaborator used to share the file with you:
7. Click on Sign Up.
Creating your new Box account
- To create a new account, you will be directed to Box's sign up screen.
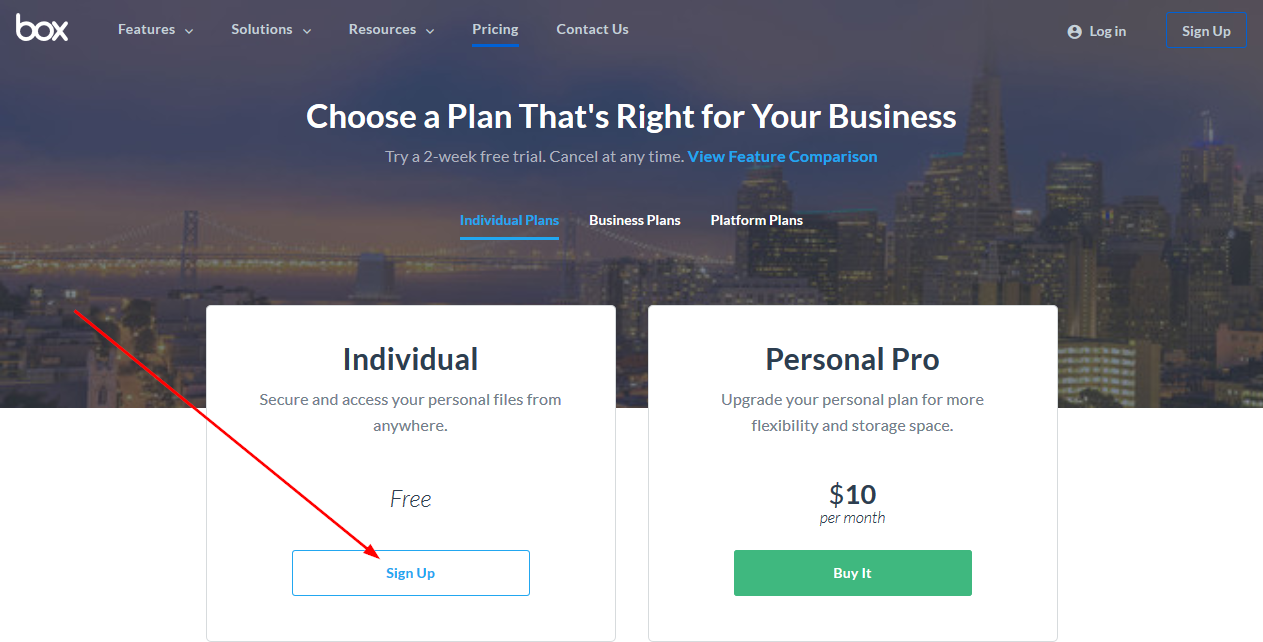
- Click on Individual Plans to sign up for a free account.
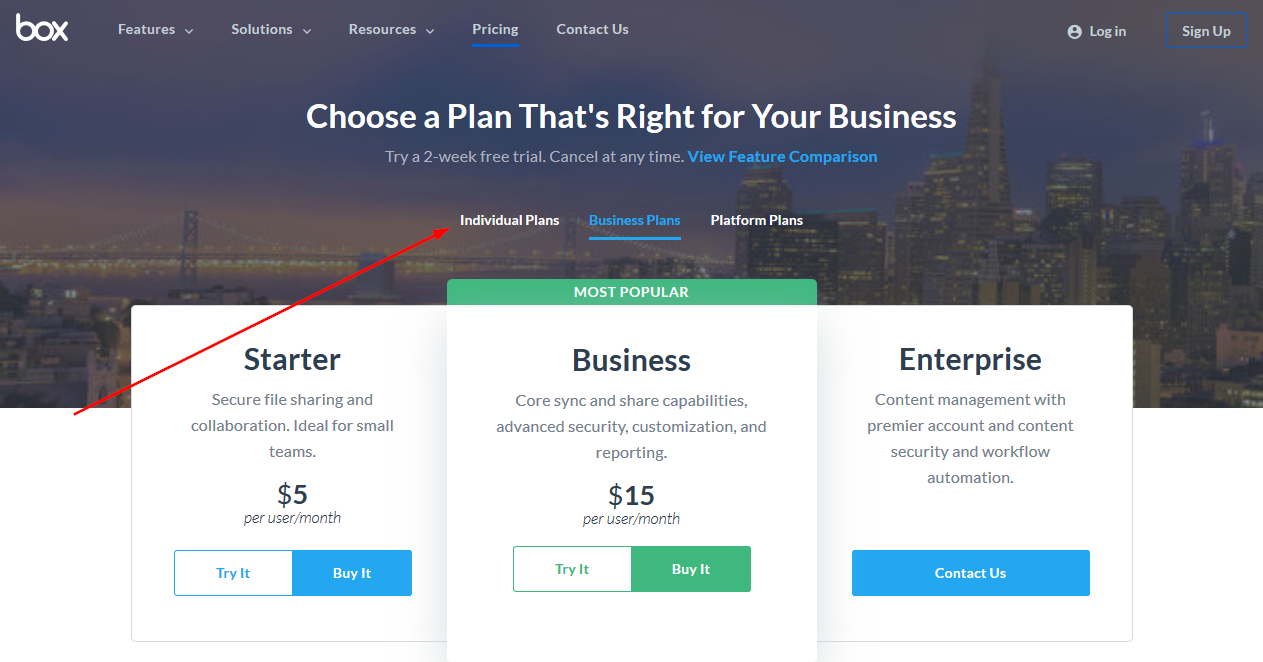
- Then click on Sign Up and follow those instructions.
When your account has been created, you will be directed to your UCSF-owned file.