If your Mac workstation is personally owned or updates to your computer are not provided by UCSF IT Field Services (ITFS) via Jamf, you will have additional steps for completing the installation of Palo Alto GlobalProtect to your workstation.
- Navigate to https://software.ucsf.edu
NOTE: You will be required to log into MyAccess to access this page. - Select the GlobalProtect VPN link.
- On the VPN screen, locate the Download link for Mac OS.
- Locate the GlobalProtect VPN installer in your Downloads folder.
- Double click the GlobalProtect VPN installer to initiate the install process before completing the required steps to install the application.
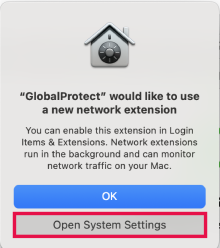
NOTE: You will not be required to reboot your workstation when this installation is complete. On the "GlobalProtect" would like to use a new network extension screen, click the Open System Settings button.
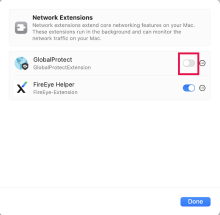
When prompted with the Network Extensions screen, select the GlobalProtect toggle. NOTE: The toggle will be blue when selected. Visit this page for additional instructions if you can't find this option on your computer.
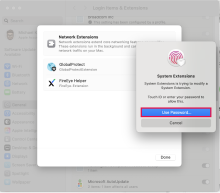
After enabling the GlobalProtect toggle, you will use Touch ID to enter your device's password to allow this change. Alternatively, click the Use Password... button to enter your device's password.
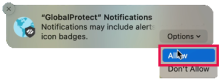
A "GlobalProtect" Notifications notification will appear in the top right corner of your screen, select the Options dropdown, followed by the Allow option.
When prompted with the "GlobalProtect" Would Like to Filter Network Content window, click the Allow button.

- If prompted with the You are making changes to the System Certificate Trust Settings window, enter your device credentials and select Update Settings.
- Congratulations! You have successfully installed Palo Alto GlobalProtect VPN to your device.
With Palo Alto GlobalProtect VPN installed on your device, you are able to access the UCSF Network remotely. Learn more about connecting to GlobalProtect VPN on a Mac.