Drive Mapping - Windows and Mac Instructions
It can sometimes be more convenient to map your RAE drive directly to your Windows or Mac device. These instructions will teach you how to do so on both types of devices.
A VPN or UCSF network connection is required.
Specific share names and paths are supplied in the RAE Welcome letter when signed up.
Windows Instructions
Open Windows File Explorer
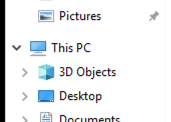
Click on "This PC" on the lefthand side
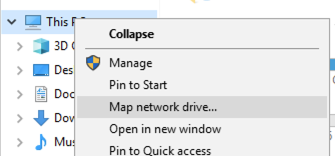
Right Click on "This PC" and select "Map a Network Drive"
Select which Drive Letter you want, then input the RAE Drive Path provided in the Welcome Email
The typical format is:
\\ars-data-01.sde.net.ucsf.edu\MyResearchShared\<shared_drive_name_here>
Where you should insert the desired drive name after "MyResearchShared\"
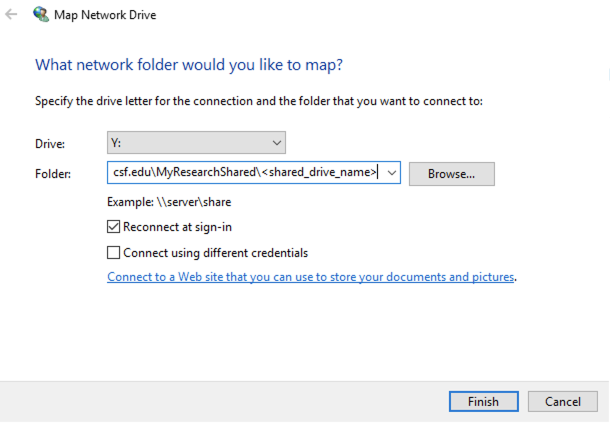
Keep "Reconnect at sign-in" selected, and hit "Finish"
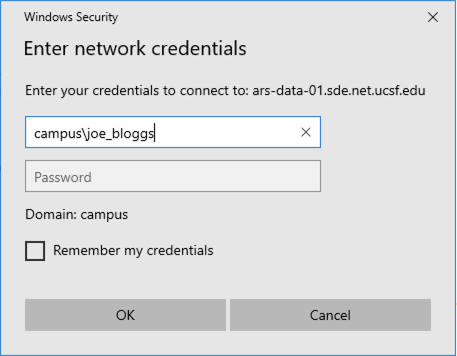
You will be prompted for your Username and Password
Note: Name must include the domain e.g. "campus" , "SOM", "UCSFMC" followed by the \
Once Successfully signed you will have access to your RAE drive!
Mac Instructions
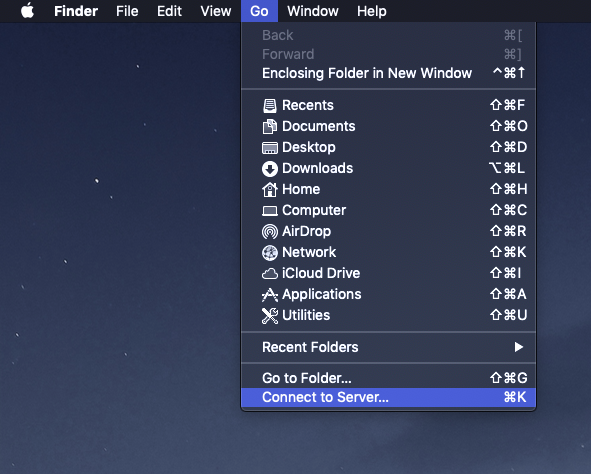
Launch Finder
Select "Go" from the Menu bar, then select "Connect to Server
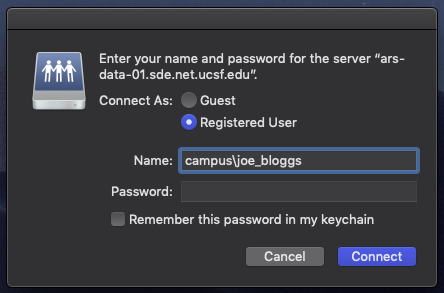
Input the RAE Drive path provided in the RAE Welcome email.

You will be prompted for your Username and Password
Note: Name must include the domain e.g. "campus" , "SOM", "UCSFMC" followed by the \
Click "Connect" and you are in