Before you begin
- Back up your important files.
- Run Microsoft Software Update to patch your workstation.
- Verify your system meets the minimum software and hardware requirements.
- Verify you are not filing for an encryption waiver.
- Verify your system is not encrypted with another encryption product: See How To Determine Your Computer Encryption Status.
You will be asked to log into MyAccess.
Note: If an active MyAccess session is already open, skip step 1 below. If you need help finding your MyAccess credentials, visit our MyAccess documentation: http://it.ucsf.edu/services/myaccess
How to install Dell Data Protection Encryption (DDPE) for Windows
- Download the UCSF DDPE for Windows installer from software.ucsf.edu.
-
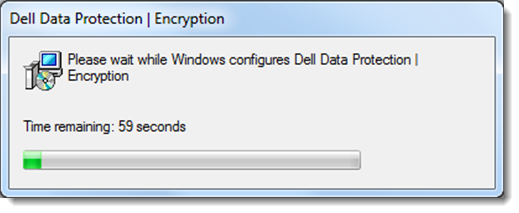
- Double-click the installer package named: UCSF-DDPE-Win-BYOD.EXE. A progress bar will appear when the installation begins.
-
Note: Along with DDPE, IBM Endpoint Manager will also be installed.
-

-
- When installation is complete, the installer will open the registration page on your web browser.
- You will be asked to log into MyAccess.
-
 Credit:
MyAccess
-
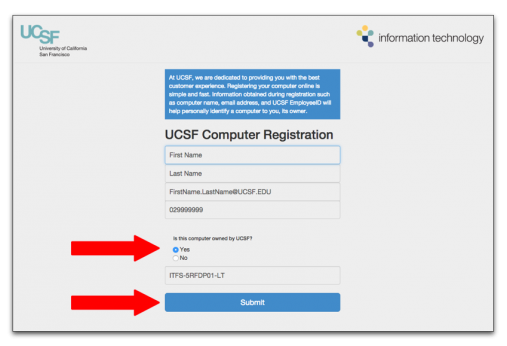
- Verify your information.
- Select the ownership status of your computer. (Yes = UCSF-owned; No = personally owned.)
- Click Submit to complete registration.
-
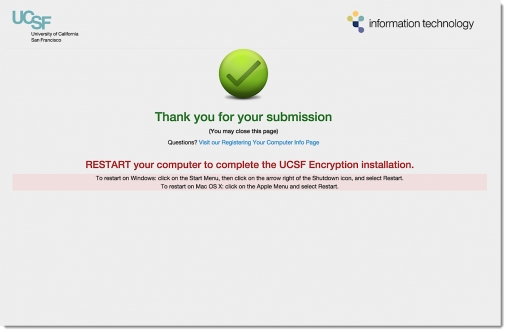
- Close the registration page when complete, and restart the computer.
-
- When you log into your computer after you reboot, you will be prompted to activate your DDPE software by an IBM Endpoint Management (BigFix) Action Request window.
- Note: The Action Request window can take up to 24 hours to appear, depending on your system and network connections.
- Click Take Action to reboot your workstation. Encryption will begin shortly after you log back in.
- At this point, the encryption process will automatically begin in the background. If your computer is a laptop, make sure it's plugged into a power source, and leave it on for 2 to 4 hours to allow encryption to complete.
Verifying encryption status
Owner Team
IT Desktop Engineering


