This content is viewable by Everyone
BCH Oakland - Avaya Workplace Softphone Installation Instructions
- Service Category: Phones & Pager
- Owner Team: IT DWS Unified Comms
Prerequisites
- BCH Oakland Private (fka. single-user) supported computer
- This application is not supported on non-BCH Oakland-supported computers.
- The application cannot be installed on Public (fka. Kiosk) workstations.
- User is part of the BCH Oakland Avaya AD group and has an active user profile in the Avaya system
- Minimum of Windows 10 computer
Installation Instructions
Accept the offer in the Big Fix Support Center
1. From the taskbar tray, open BigFix Support Center icon.
2. Go to the Offers tab.
3. Highlight the Avaya Workspace offer and click the link to accept.
4. Go to the Progress tab to verify Status is Complete. The installation may take 15-30
- Offer includes the following certificates:
- InCommon Trusted Root Certification (IncRoot)
- InCommon Intermediate Certification (IncInt)
Log into Avaya Workspace
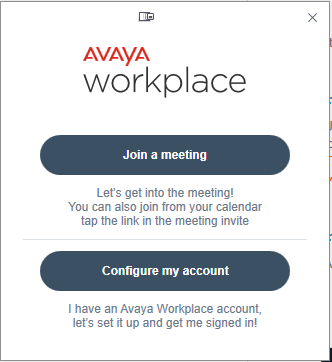
1. Start the Avaya Workspace application.
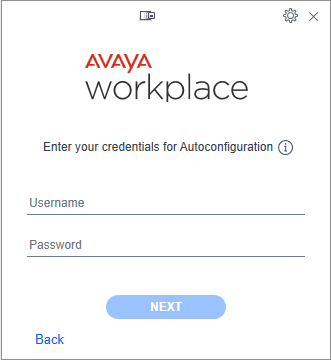
2. Choose Configure My Account button.3. Log in using your UCSF email credentials for Autoconfiguration.
Problem
Users in Campus AD domain cannot use auto-configuration when starting the Avaya Workplace application and see the error above. If you get this message, you will need to manually configure the Avaya Workspace application.
- This client installation will not have integration with the UCSF directory because we cannot configure device services. If Office 365 is running, the software should pick up any Outlook contacts.
Solution
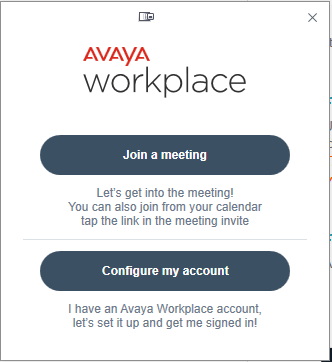
After starting the Avaya Workplace application, click on the Configure my account button.
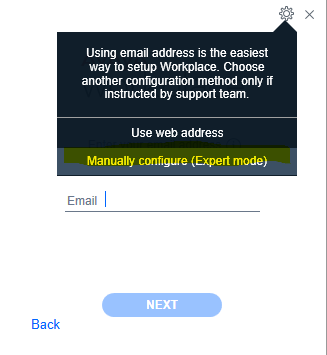
- On the subsequent screen, do not enter the email address and instead click on the gear icon in the upper right corner to select the Manually configure option as shown below.
- Configure the account information
- In Settings > Accounts, provide user extension and password provided by Telecom. Click Update to save your phone profile.
Configure phone services
- In Settings > Services, click on Show Details link for additional configuration options.
- Click Phone Service to display phone service configuration panel.
- Enter the settings below and click Done.
- A pop-up will appear with a message that the application will restart. Choose Restart.
4. After clicking the restart button, the client should restart, and phone service will be available with the screen appearing as below:


