Effective Dec. 17, 2025, UCSF IT will no longer support CrashPlan for IT-Managed Computers
Problem
Effective May 15, 2023, our standard application for automatic backups at UCSF is changing from Code42 to CrashPlan. Although the backup service will remain the same, the name of the application, the logo and the branding will be different. Due to this branding change by the vendor, UCSF Macs that are not actively managed on MDM by UCSF Jamf Pro will need to manually re-allow disk access to CrashPlan in order to continue the automatic backup process.
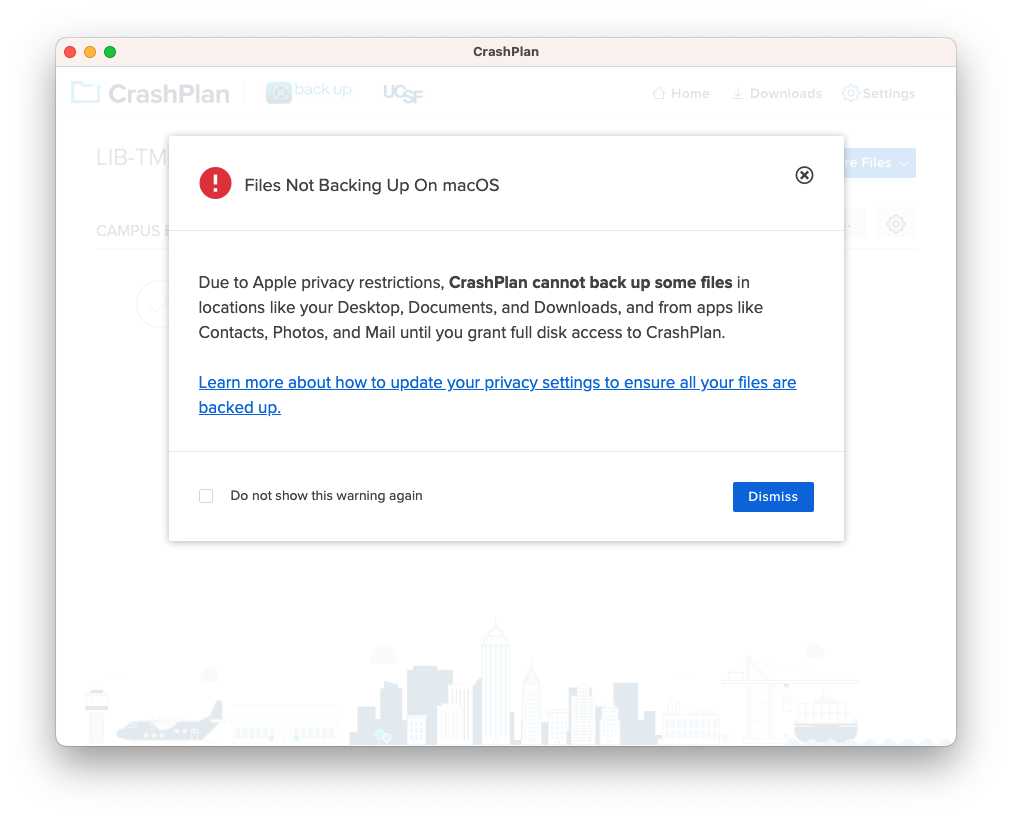
Due to Apple's privacy restrictions for files and folders containing personal data in macOS Mojave (10.14) and newer, CrashPlan cannot back up files from locations like the Desktop, Documents, Pictures, Contacts and Photos until the required disk access permissions are granted first.
If your Mac is fully managed by UCSF IT through MDM enrollment in UCSF Jamf Pro and is actively checking in to the system, then we got this managed for you and no further action should be necessary.
Before you begin these steps, please take a moment to review a CrashPlan video demonstration.
If your computer is affected by the problem described here, you will see this dialog alert when you open CrashPlan v11 for the first time following a new installation or upgrade:
TECHNICAL NOTE: These macOS Privacy preferences are not the same as POSIX file system permission normally associated with other Unix and Unix-like operating systems such as Linux.
How do I enable full disk access for CrashPlan on macOS?
All screenshots below were created on a Mac running macOS Ventura (13). The steps are slightly different for macOS Monterey (12) and older versions. Please contact your IT support person if you require technical assistance performing these steps.
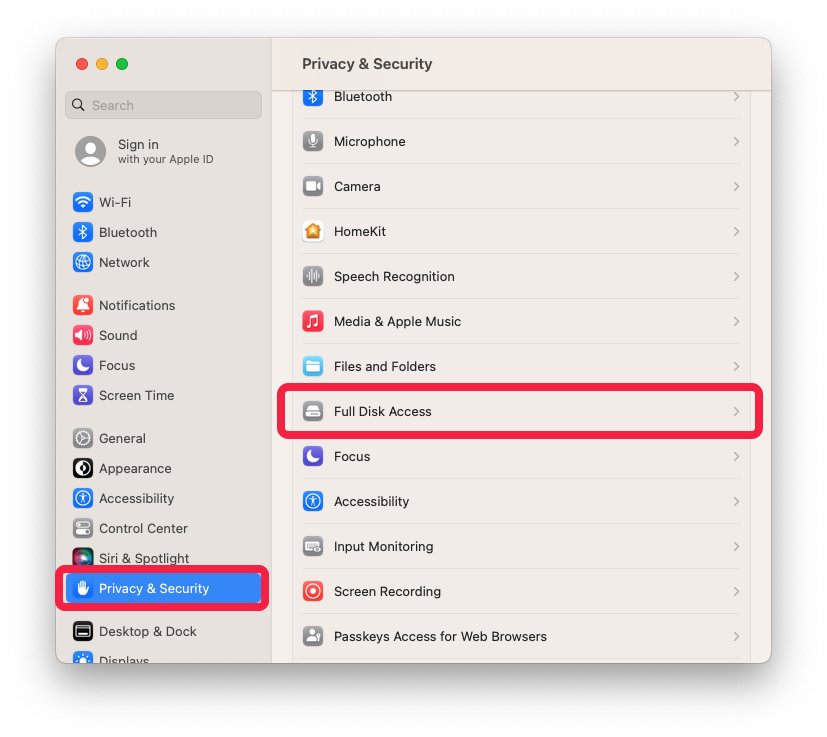
- Select the Apple Menu > System Settings > Privacy & Security.
Select Full Disk Access in the right column as shown in the screenshot.
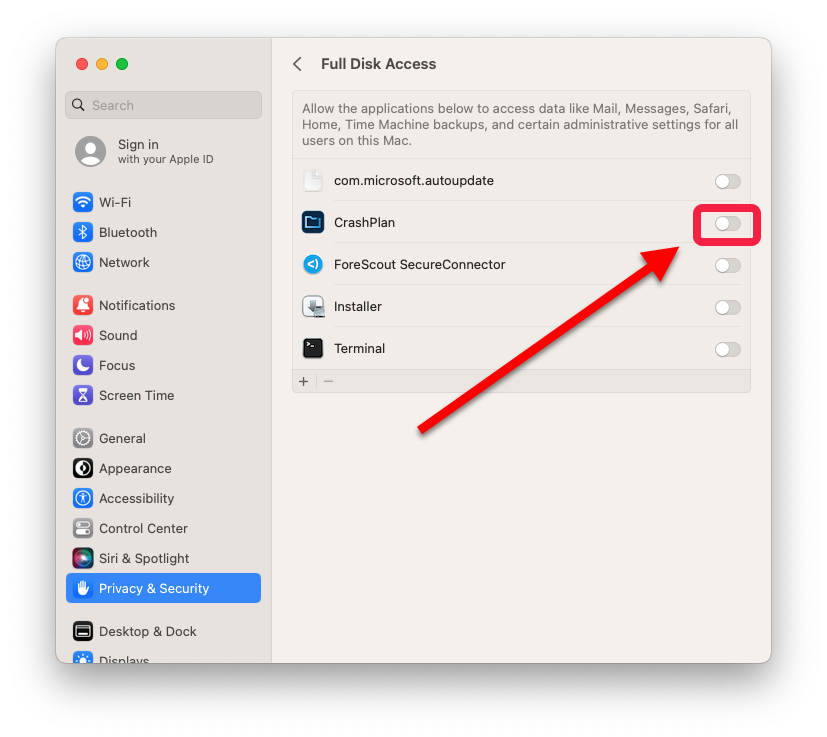
Click on the switch next to CrashPlan as shown below to turn on full disk access to stop macOS from blocking it from backing up data.
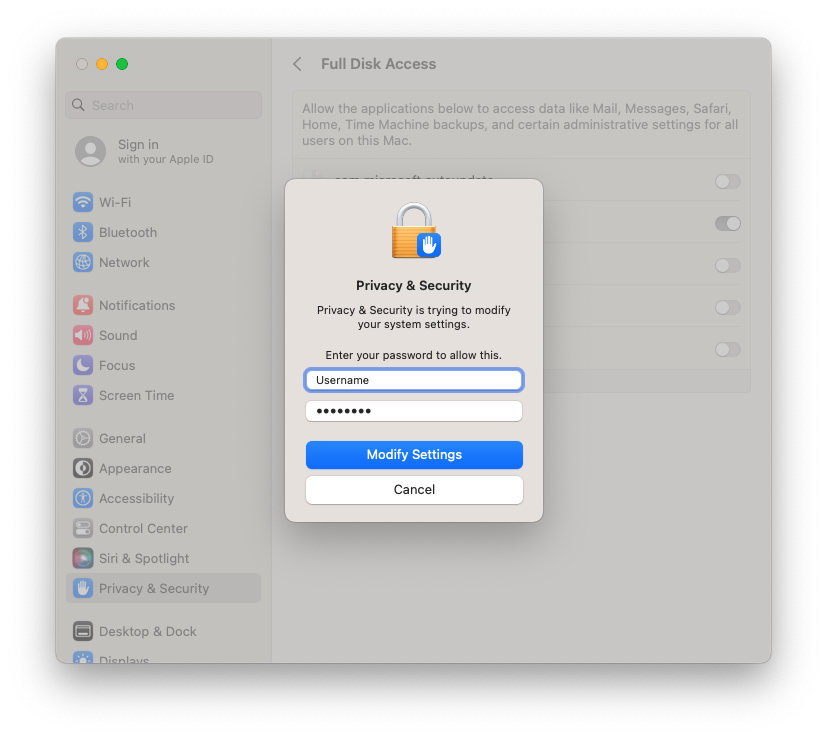
If prompted to enter your Mac's password shown below, please do so and click Modify Settings.
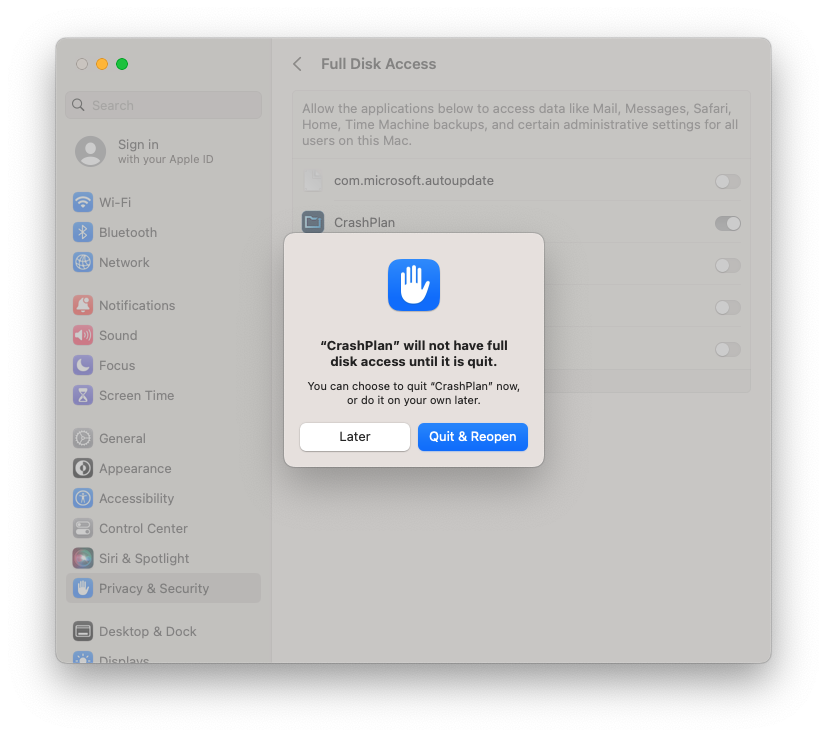
When this dialog appears, select Quit & Reopen.
- Restart your computer to ensure your computer is no longer blocking CrashPlan from backing up your files.
Verify full disk access status (optional)
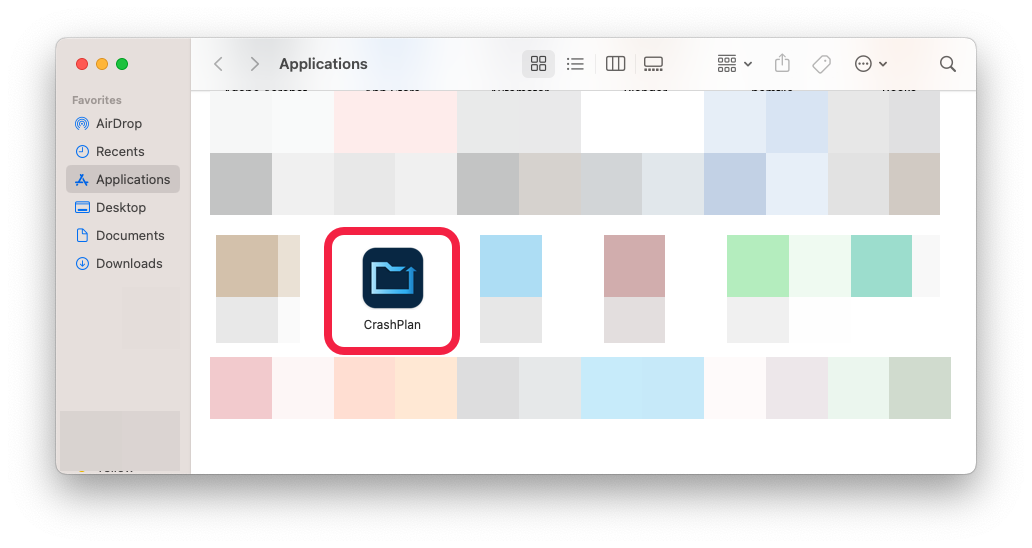
Open the CrashPlan app.
- Sign in to your account.
- From the main CrashPlan screen, press Option+Command+C to open the CrashPlan commands prompt.
- Enter this command:
fullDiskAccess - Press Enter.
A message appears indicating if full disk access is enabled or disabled.
We want to see full disk access "enabled".