Adding Zoom to Microsoft Teams
Step1
Load Microsoft Teams on your Desktop or on the Web.
NOTE: The Microsoft Teams desktop requires users to be on the UCSF network or via VPN.
Step2
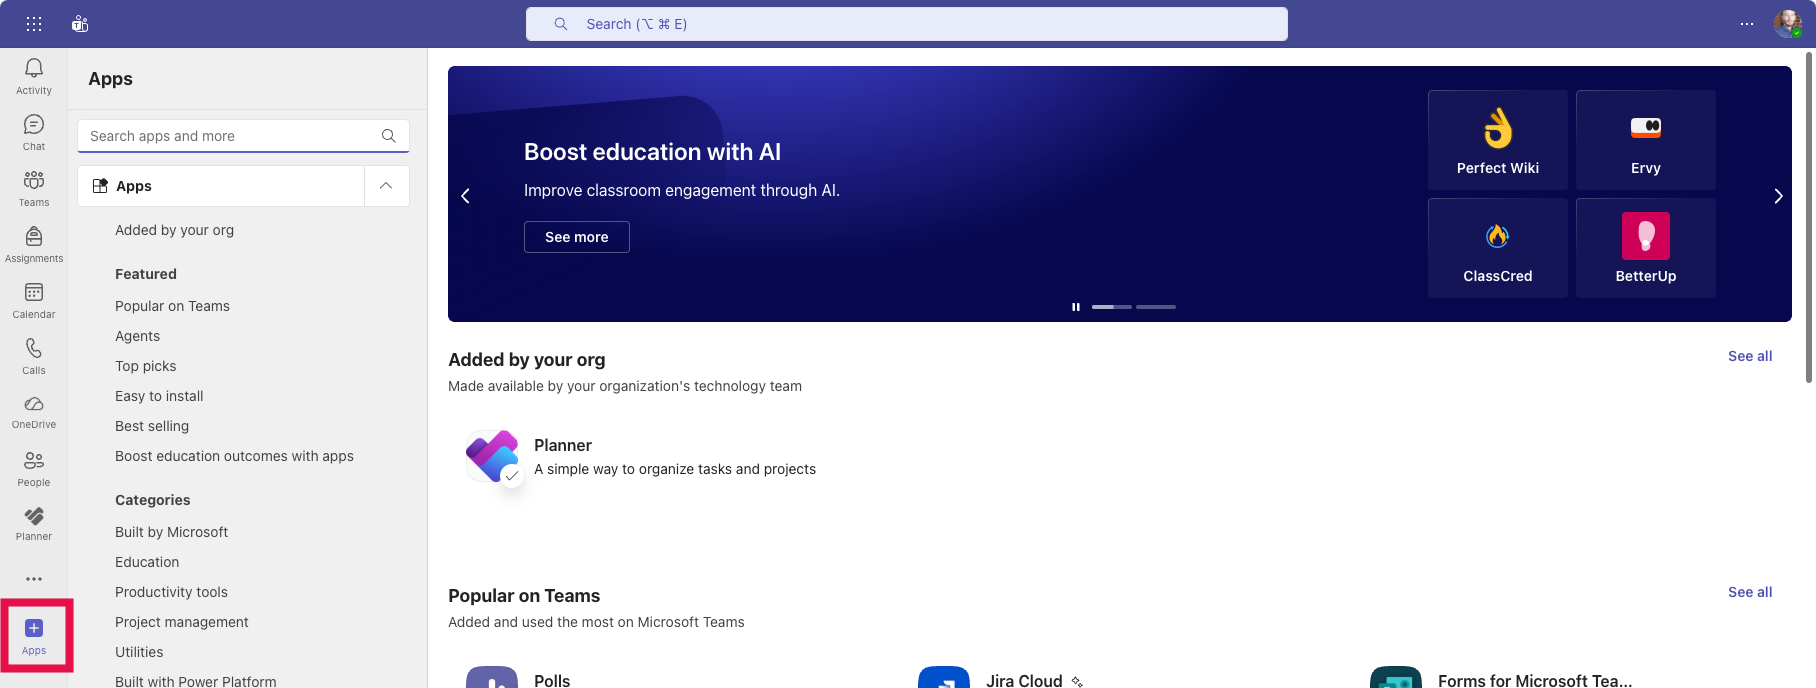
Select the Apps icon.
Step3
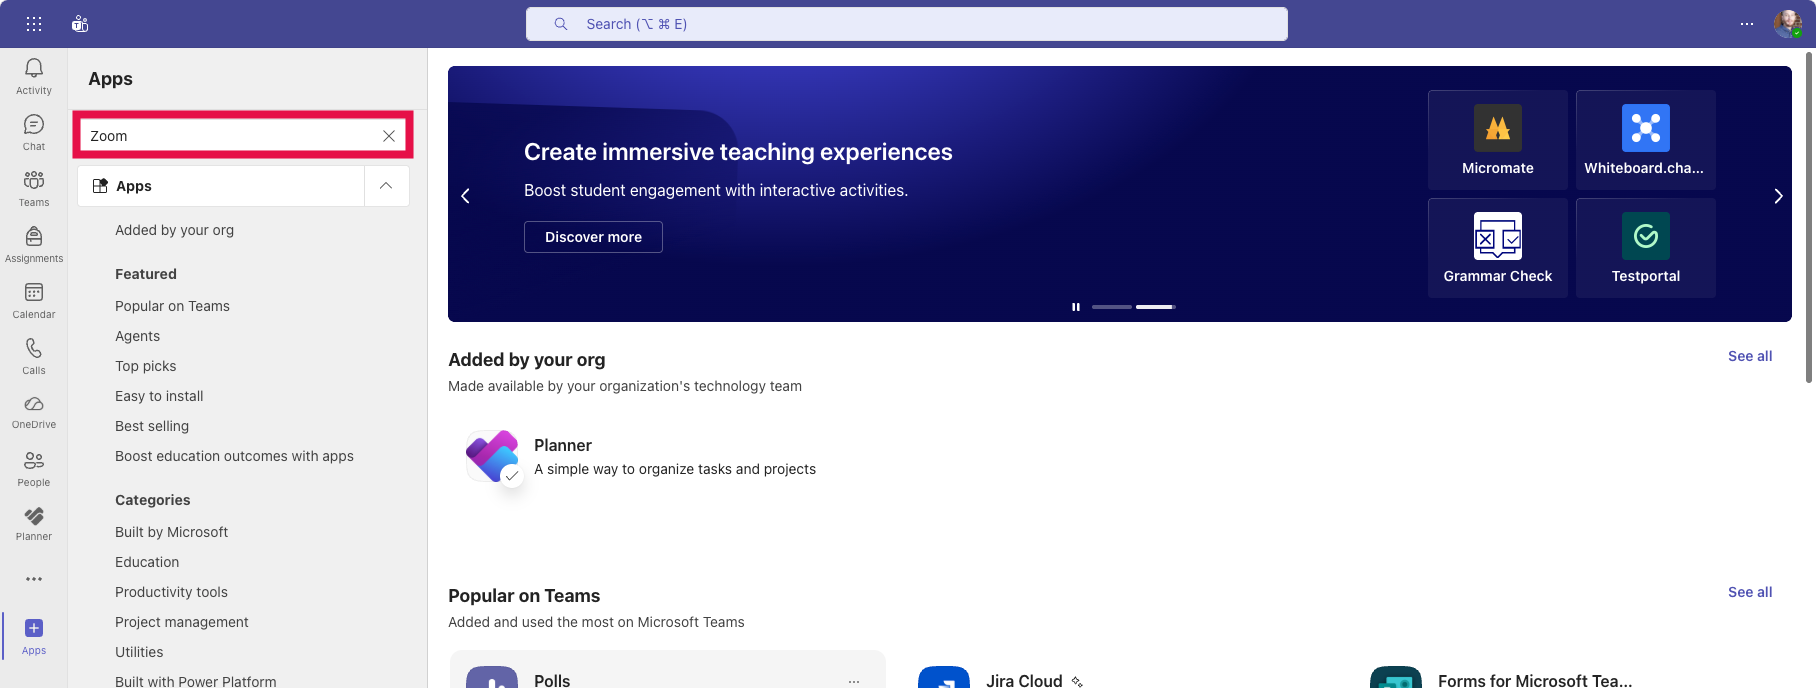
In the Search apps and more, enter Zoom.
Step4
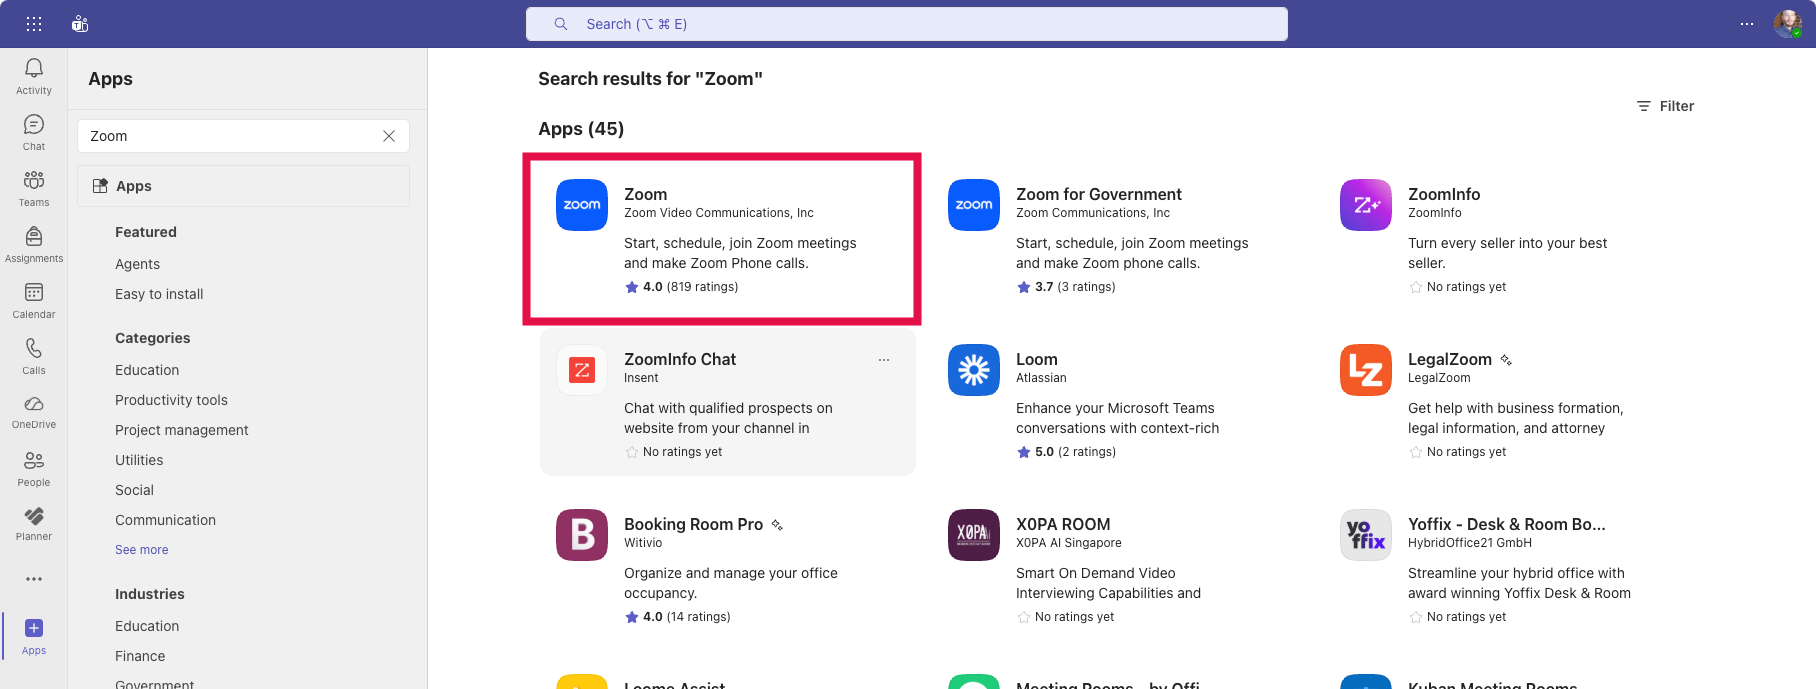
Select the Zoom card.
Step5
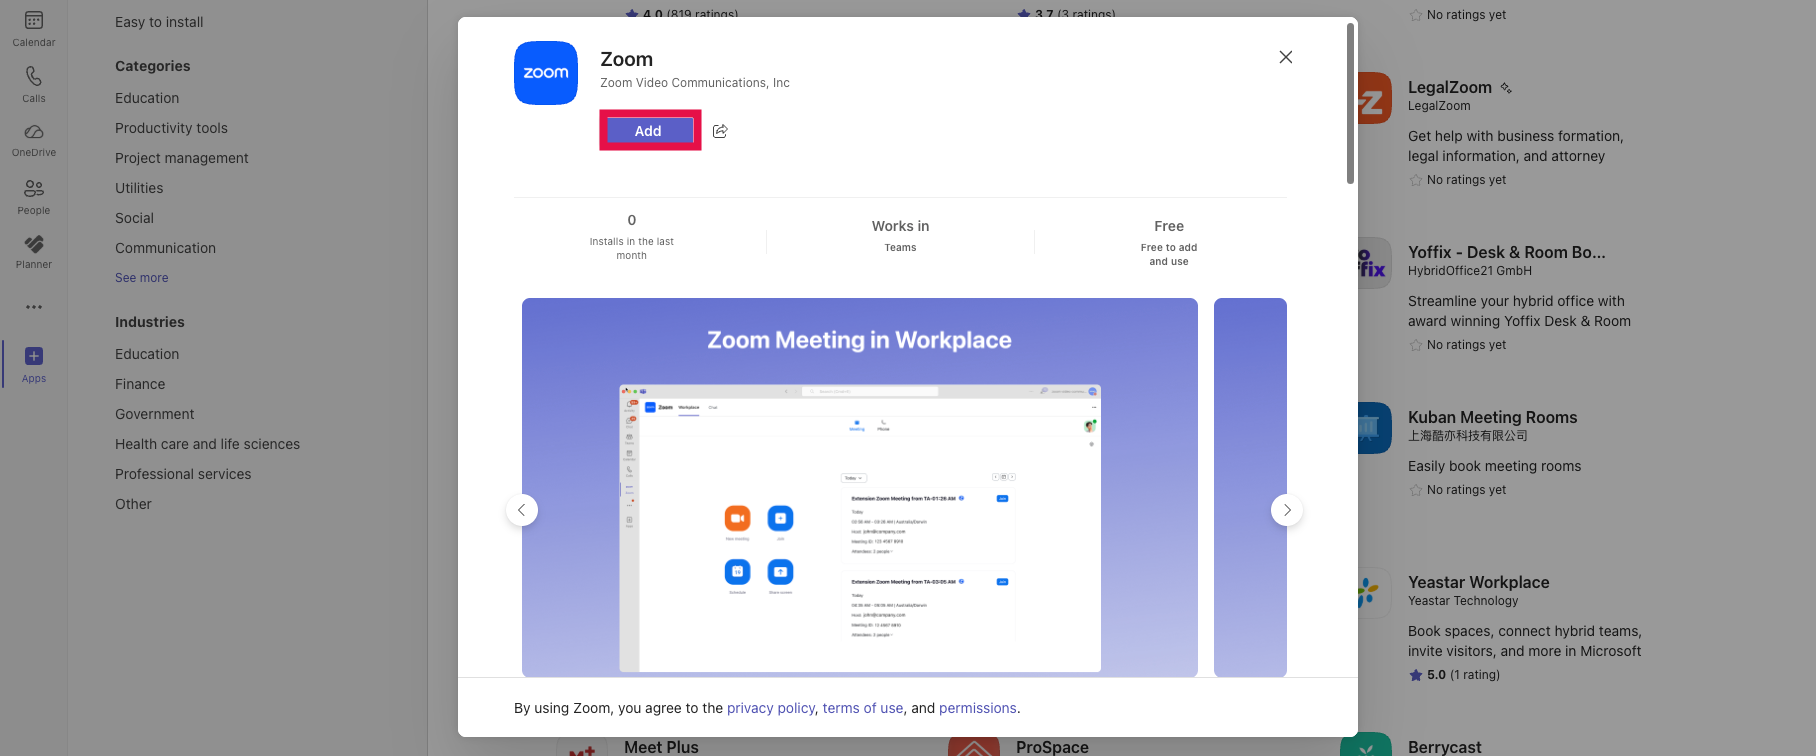
On the Zoom card, click Add.
Step6
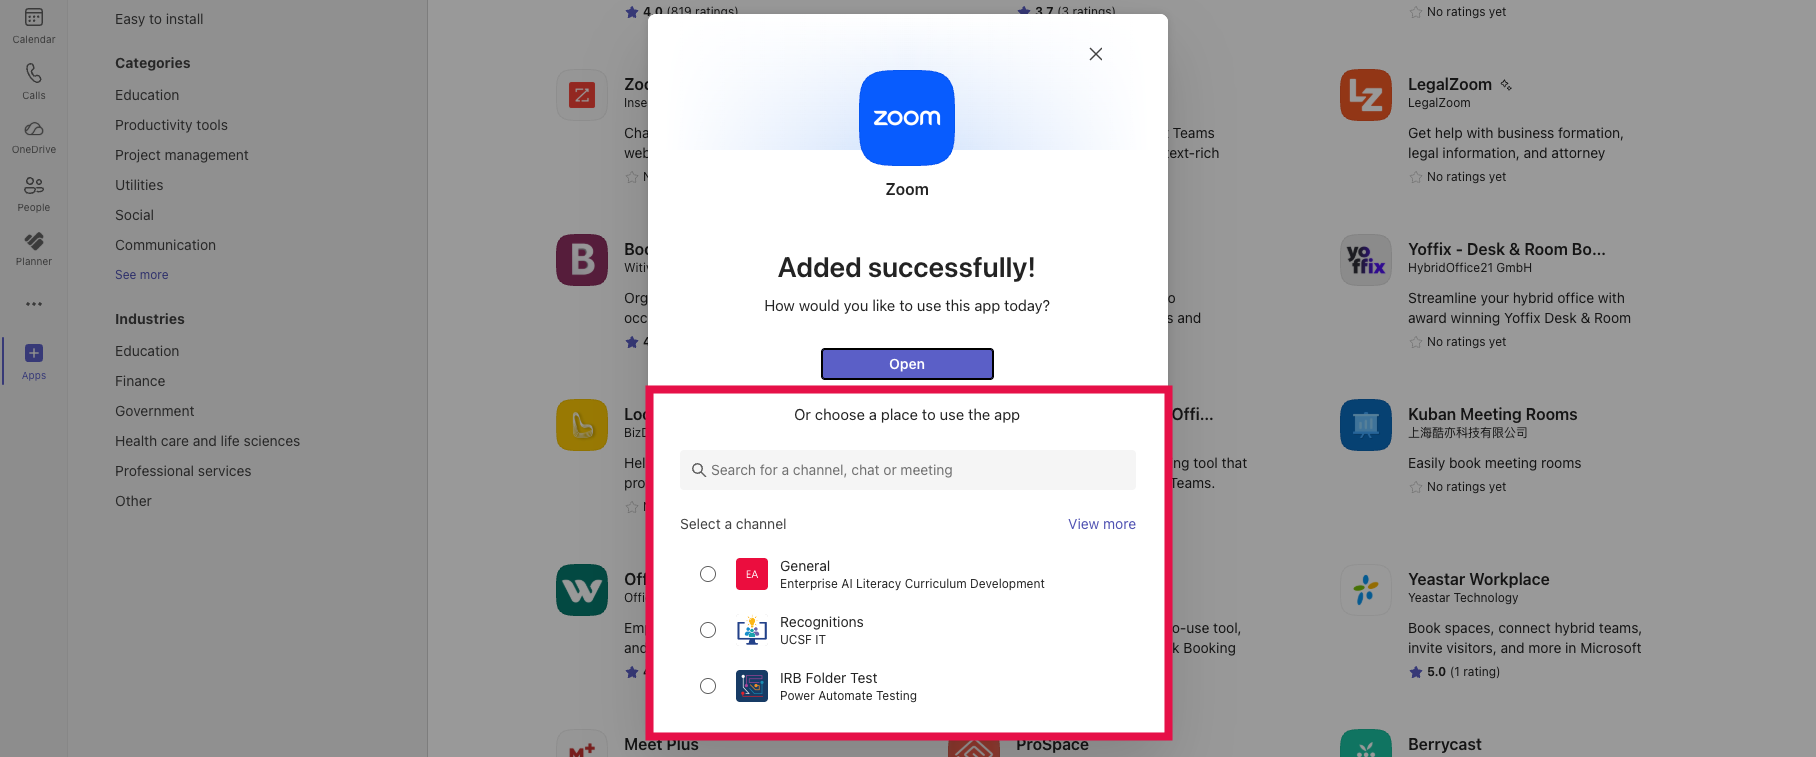
Teams will confirm the installation of Zoom.
At the bottom of confirmation message, you can search channel, chats or meetings to include access to Zoom. NOTE: You will need to select the channels or meetings that you want to use Zoom within them.
Using Zoom in Microsoft Teams
Step1
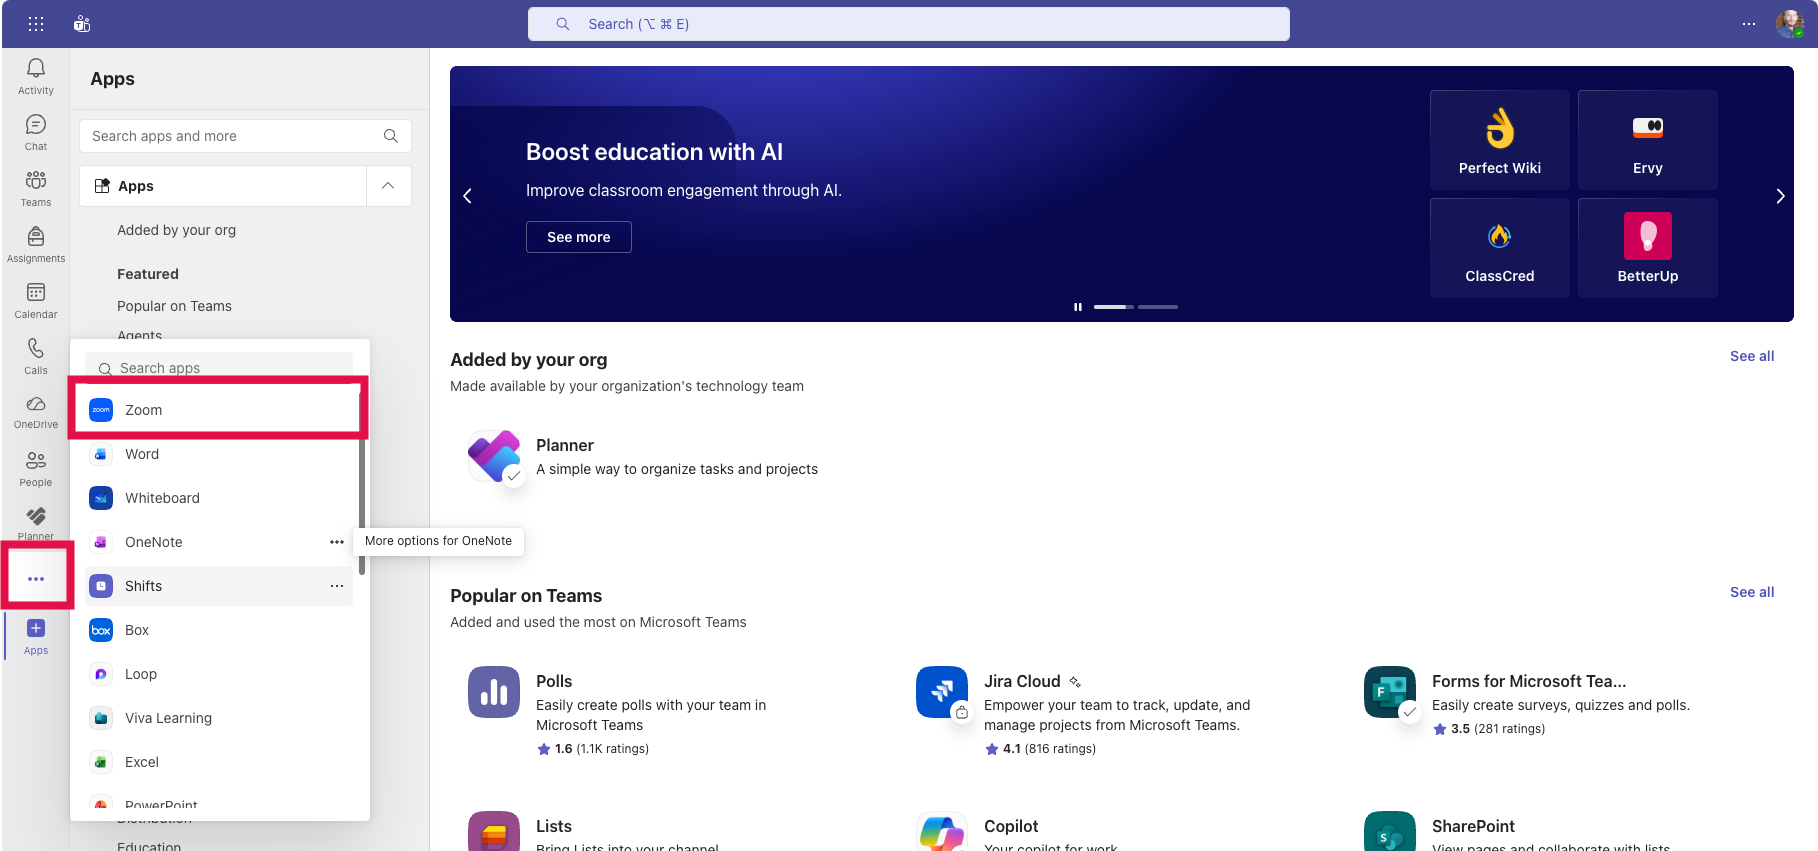
Select the ... then Zoom.
Step2
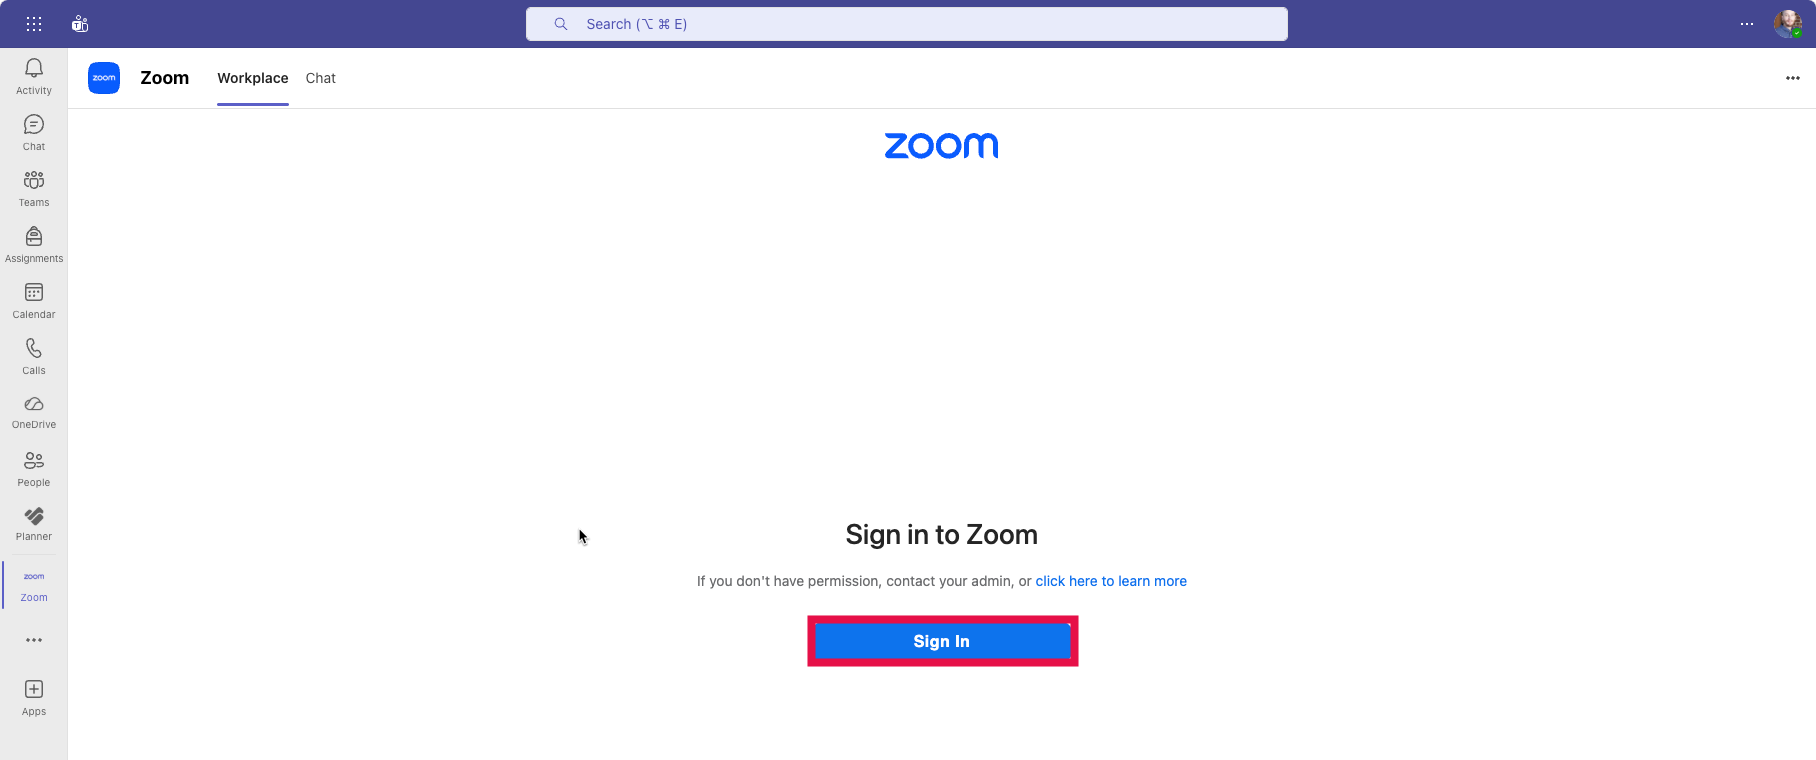
On the Zoom screen, click Sign In
If prompted to authenticate, enter your UCSF email address and password. Once authenticated, the Zoom screen will update to highlight Zoom options (e.g., new meeting, join, schedule, and share screen).
Step3
Navigate to Channel, Chat, or Meeting to use Zoom in.
Step4
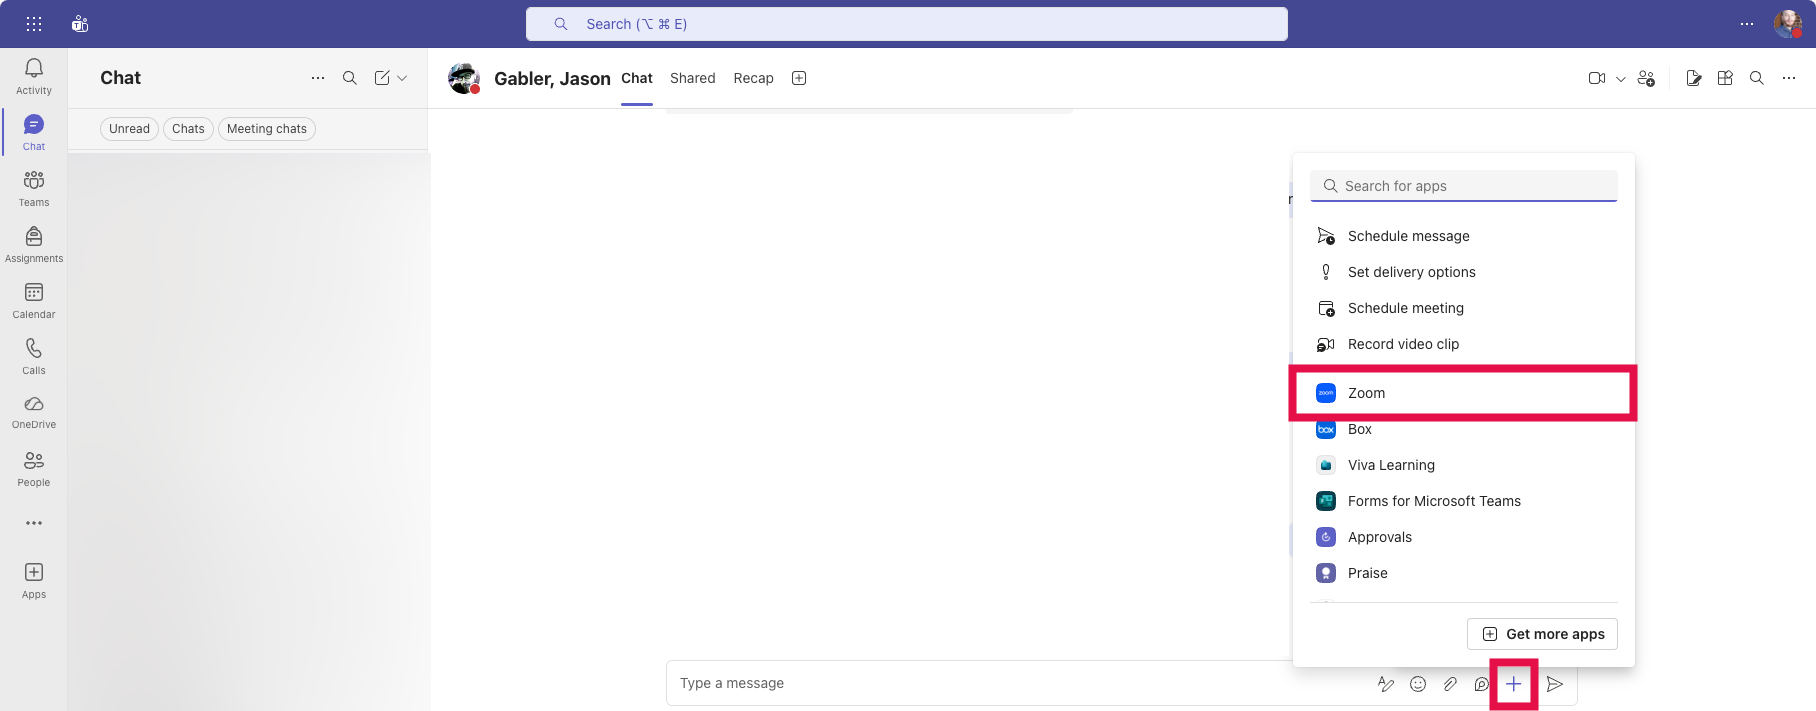
Click + then select Zoom.
Chat
NOTE: You will need to invite the chat recipient before initiating a Zoom meeting.
Channel
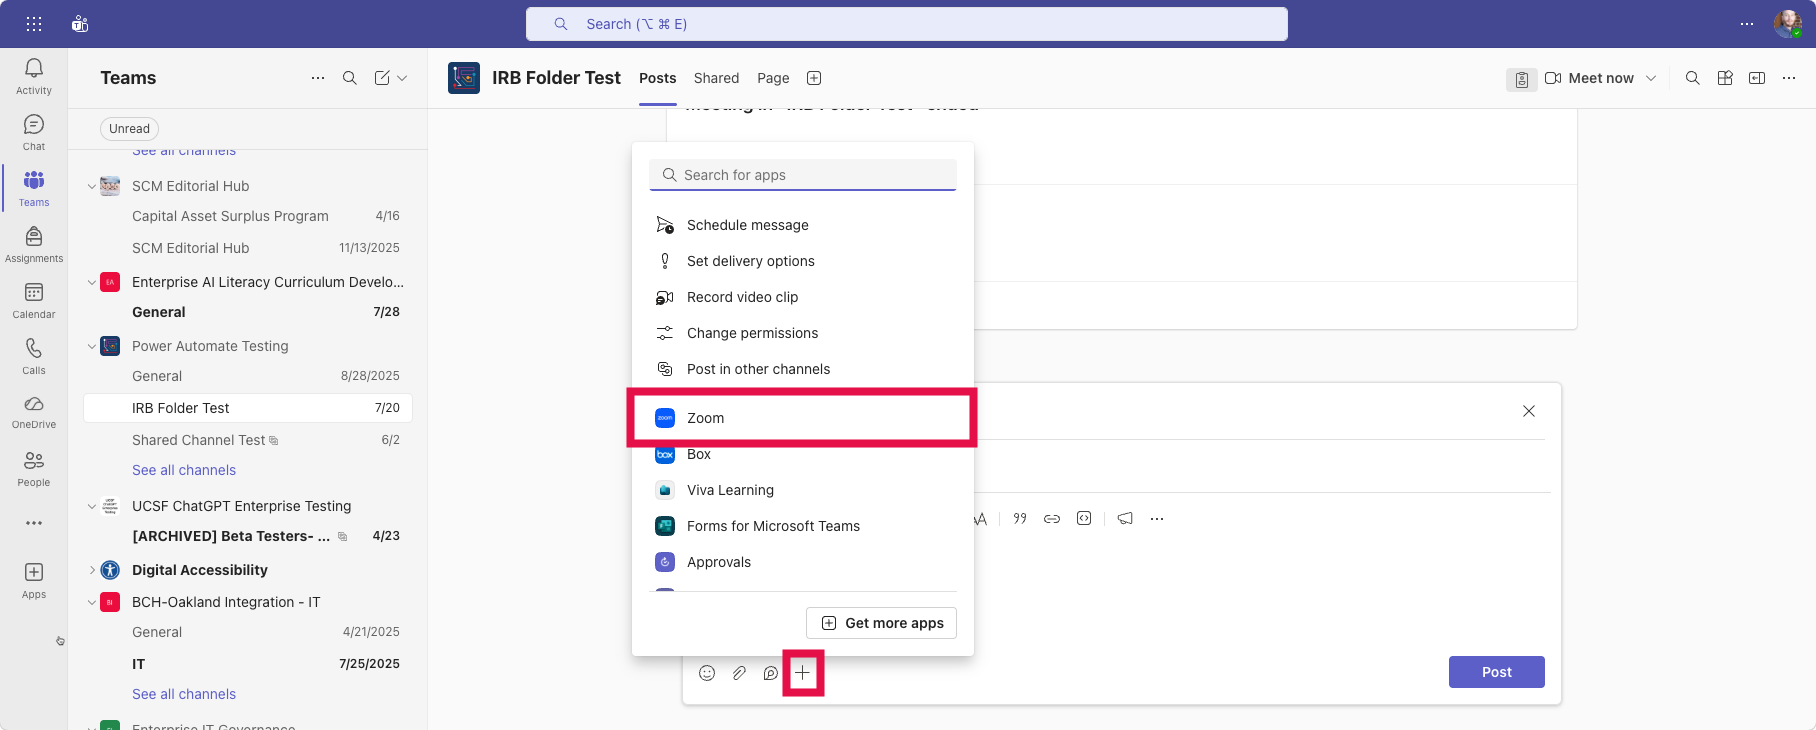
Step5
Select the applicable Zoom option.
Once selected, you will be able to initiate an instant meeting (e.g., occurring right), schedule a meeting to occur in the future or share a Zoom Whiteboard.