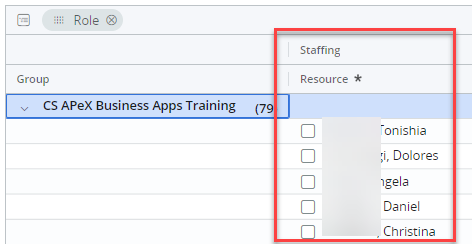
2. From the Home menu, click on Staffing on the left-hand side menu.
3. From the Staff tab you will see a default view which has been created as a starting point for you to review Role requests. Search for the View called UCSF CS APeX Clinical Training Requests.
Click on Show Filters to display the filter options that have been set as part of the View.
Click on Organization OBS (Resource) and update the value to the OBS for your team.
If the Active (Common Investment) filter option is displayed on the top row, feel free to remove this filter option by clicking the 'x' to the right. This is because this option has now been automatically added to this page. Please see below.
As part of this view, only Roles that are active will be displayed.
Two new filter options have been hard-coded onto this page.
Active (Common Investment) will default to Yes, so that you will automatically view only active investments. If you wish to see active and inactive investments, update this to All.
Template (Common Investment). will default to No, so that templates are not displayed in amongst your investment records. If you wish to view templates, set this to Yes.
The rows of data in this view have been grouped by Resource. In this view, the only resources that are displayed are roles, so the data is grouped by Role.
Once you have updated your View, save it by clicking on the downward facing arrow to the right of the view name.
Click on Save As.
Give your view a name and click Save.
If you wish for other users to see your view, click on the View drop down and select Manage.
Hover your mouse over the row for your new view and click the Share button which appears.
Specify if you would like to share with ‘Everyone’ or ‘Specific Groups’ and select Done.
If you select 'Specific Groups' you will be able to specify which groups by clicking on Add Group.
You also have the option to copy a link for your new view, which you can then share with others via email, Teams, etc.
Your new view will now be saved. Now that you have your own version of the view, any further changes you make can be saved by clicking on Save.
4. To allocate a resource to a project, expand out the role by using the arrow pointing to the right.
You will now see each of the projects where a request has been made for that role.
Refer to the Booking Status column and ensure the following rules are adhered to when swapping out a role for a named resource.
Soft – The role for this project has not yet been approved. Do not assign out to resources.
Hard – The role for this project has been approved. Assign out to resources as necessary.
Note: Idea records must not be assigned to resources.
Scroll across to the Resource column under the Staffing header.
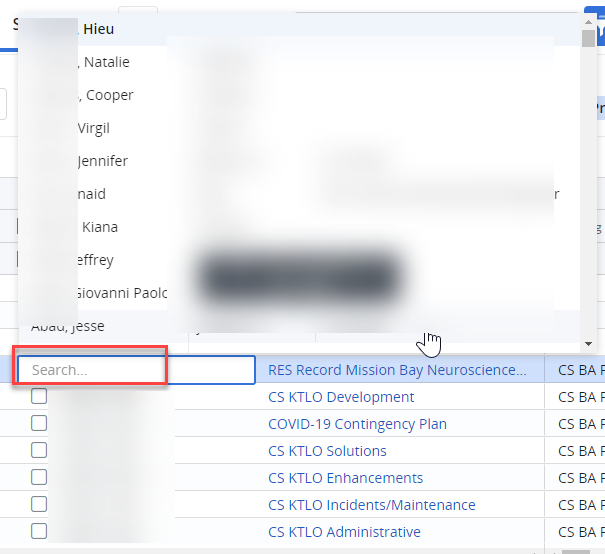
Double-click in this column. Search for and select the named resource you wish to assign to the project.
The role name will now be swapped out with the name of the selected resource.
Note: you can also search by Role name in this window, to see a list of resources who match the specified role.
5. To replace a resource on a project, use the following filter as the basis for your new saved filter.
Click on the Primary Role filter option and update to select the roles which you manage.
You will then see a list of your resources, where the project data has been grouped below. You may wish to save this View for future use.
Click on the downward facing arrow next to the resource to show their projects.
To remove the resource from the project and replace with another, click on the Resource column under the Staffing header.
Search for and select your resource.
The new resource will now have an allocation against the project.
6. To update allocations for recently added project resources, scroll to the right of the Staffing page until you see the time scale data columns.
The overall allocation for the life of the project can be entered in the Allocation column under the Grand Totals header. Any values entered here will be distributed across the months for the duration of the project.
To update specific monthly allocations, scroll further to the right to the monthly data and update the Allocation within each monthly cell.


