Navigate to Staffing.
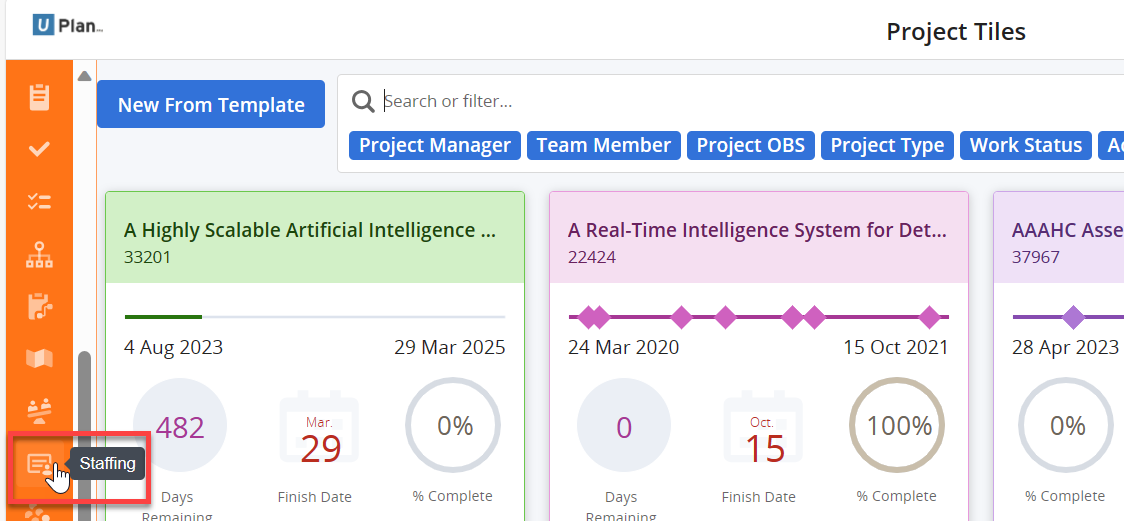
Click on the Staff tab.
For ease of use, a default view has been created which you can use to start building your own views of resource allocations and actuals.
Select the View called UCSF - Resource Allocations and Actuals.

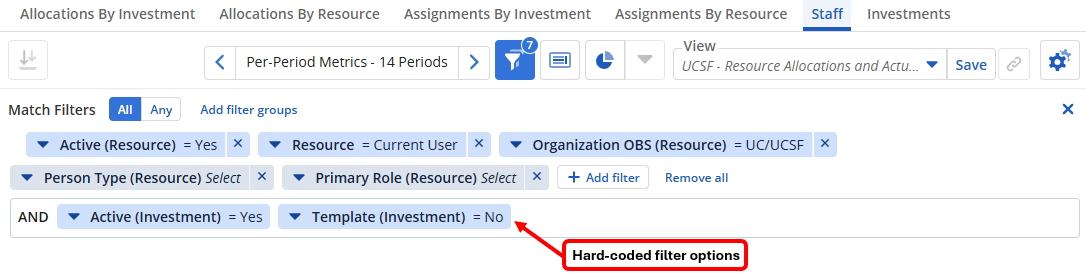
The UCSF - Resource Allocations and Actuals view displays data for the current user. Adjust the filters and display options to meet your individual needs.
There are also two filter options which have been hard-coded onto this page.
Active (Common Investment) will default to Yes, so that you will automatically view only active investments. If you wish to see active and inactive investments, update this to All.
Template (Common Investment). will default to No, so that templates are not displayed in amongst your investment records. If you wish to view templates, set this to Yes.
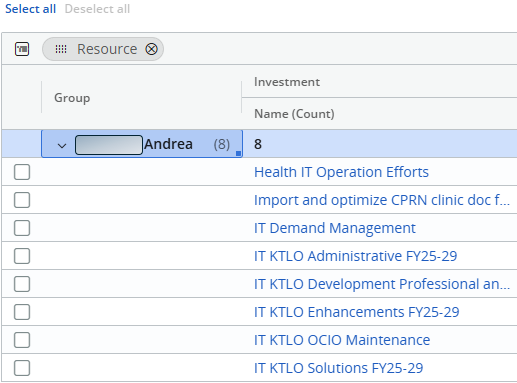
The data set displayed will show the name of the resource(s). Click on the arrow to the left of a Resource name to expand out the detail.
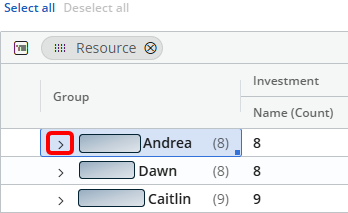
Once the data set has been expanded, you will see the projects the resource has been allocated to.
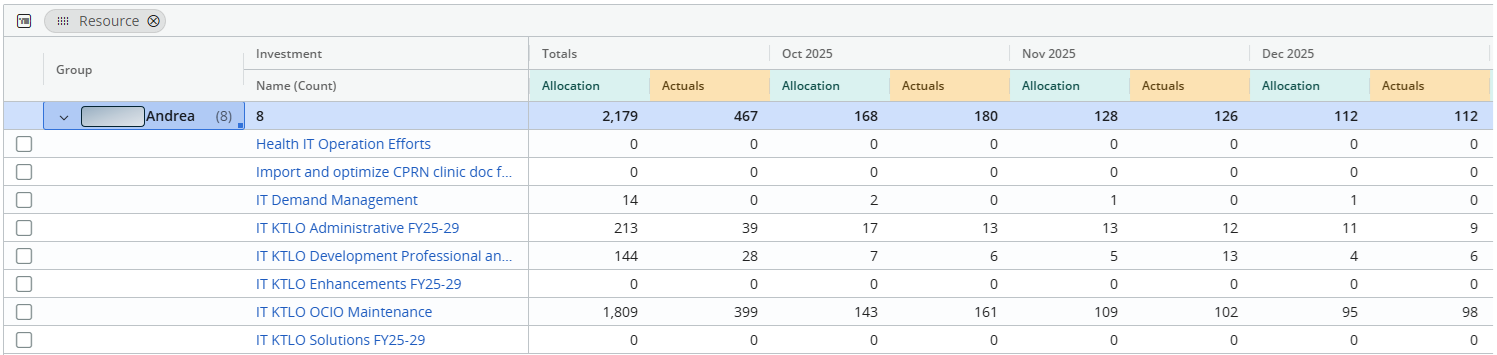
Scroll to the right to see monthly data for Allocation and Actuals.
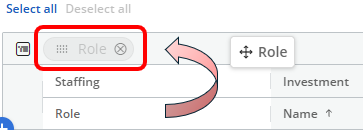
If you want to see the data grouped by Role, rather than Resource, change the Group By in the top right of the table to Role, by dragging and dropping the Role column to the Group By selection.
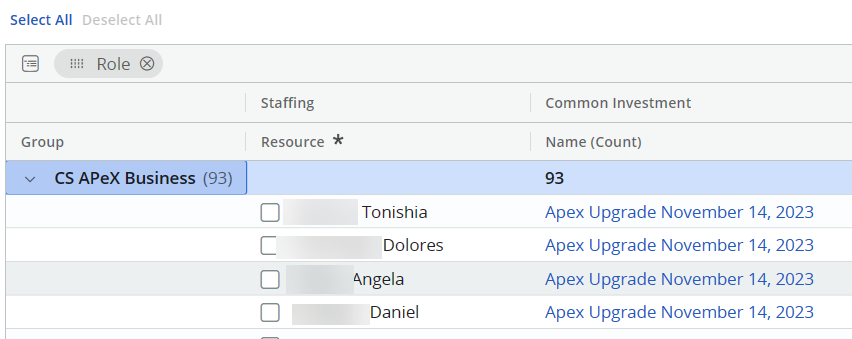
The data set displayed now will be grouped by Role(s). Click on the arrow to the left of a Role name to expand out the detail.
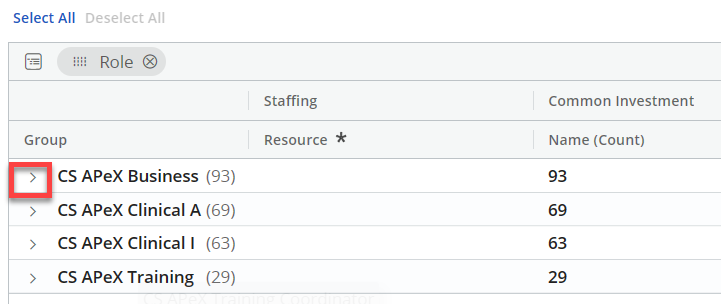
Once the data set has been expanded, you will see the projects the role has been allocated to, as well as the resources who work in this role.
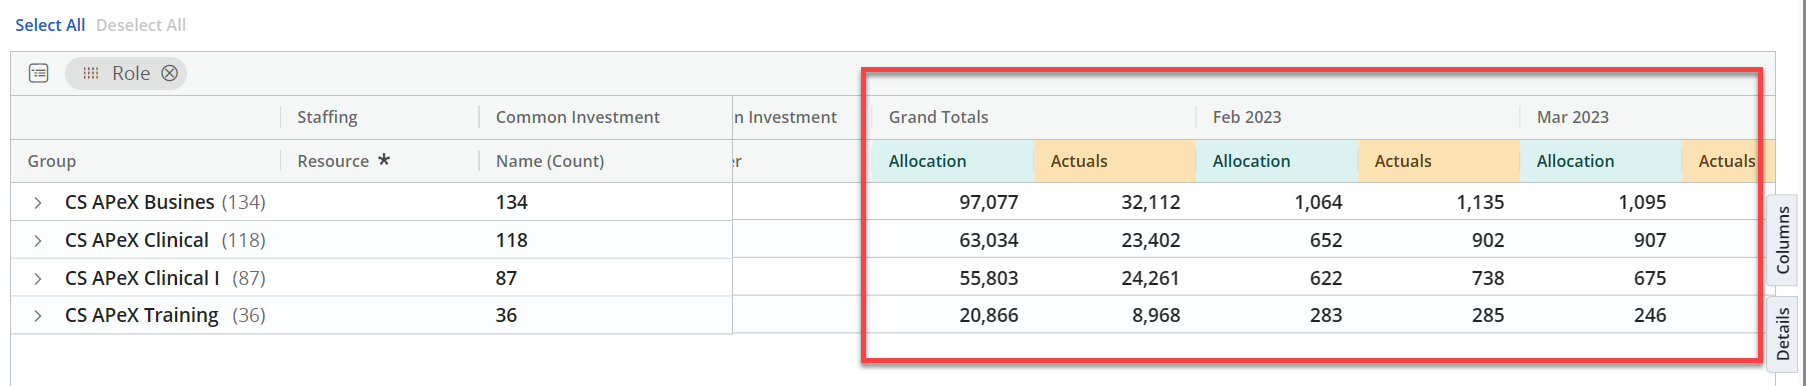
Scroll to the right to see monthly data for Allocation and Actuals.
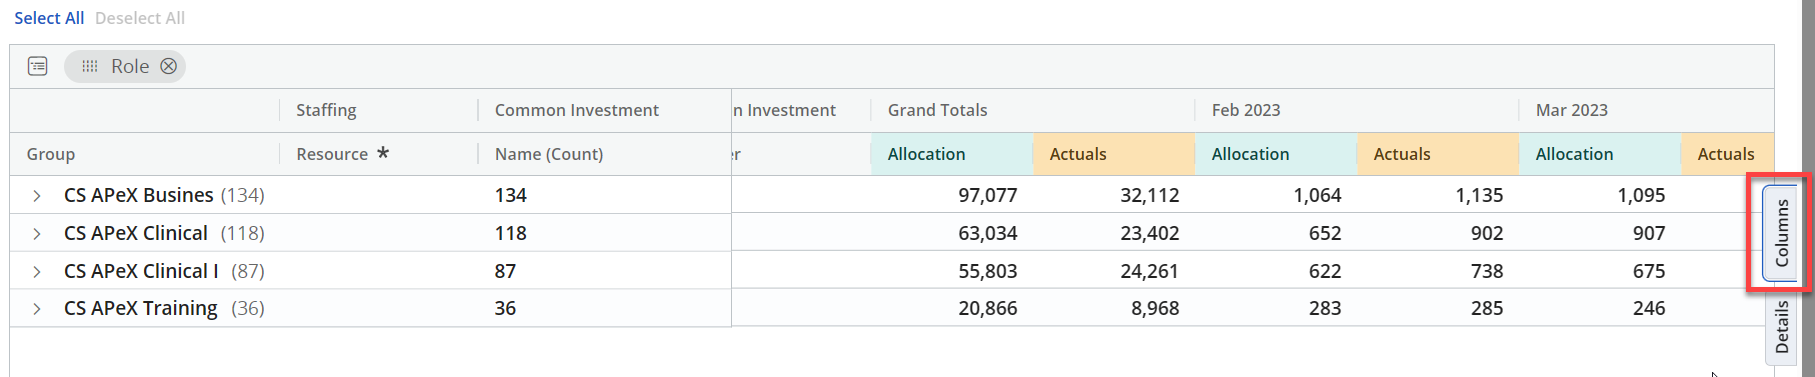
If you wish to change the per-period metrics that are displayed, click on the Columns tab to open the flyout.
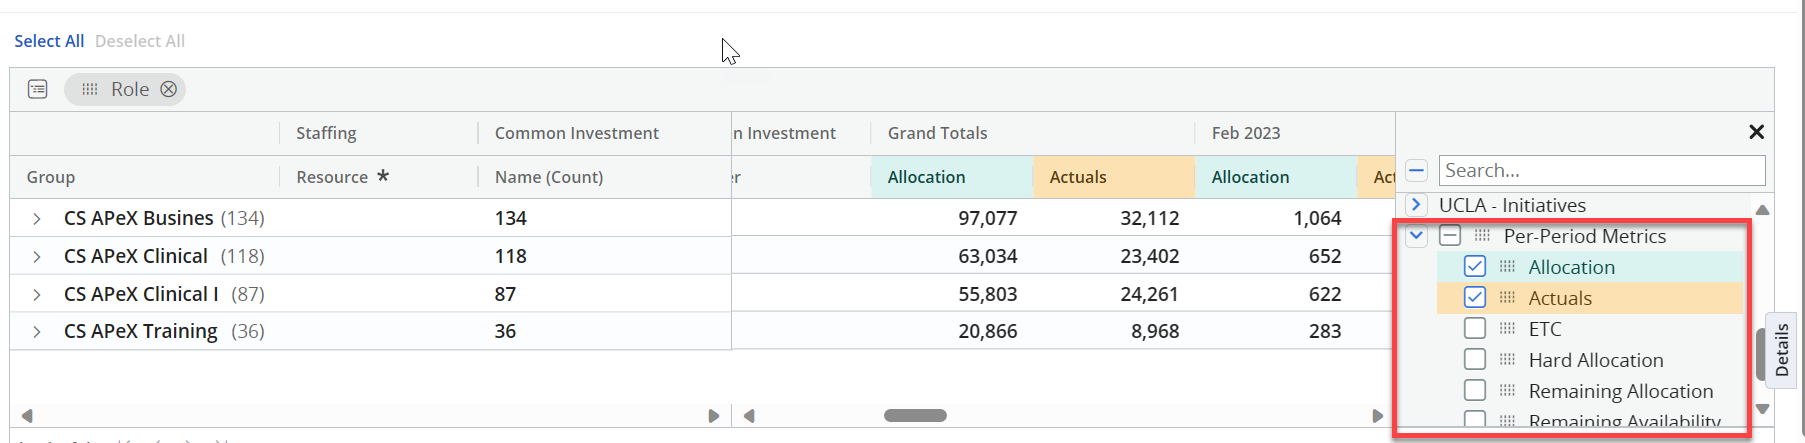
In the Per-Period Metrics section and add/remove the checkmarks against those items you wish to adjust in your view.
Notes on Allocation and Actuals
Allocation: The allocation (in hours) for the resource on the project specified.
Actuals: The total hours entered into a resource's timesheet for the specified project. As timesheets cannot be submitted for future dates, this data will always be for time periods in the past.
Totals
This view will also show you columns for Sum of Periods Totals. The data can be displayed in two different ways.
Sum of Periods – will add up the total hours between the Start Period and End Period.
Grand Totals – will add up the total hours for the life of the project.
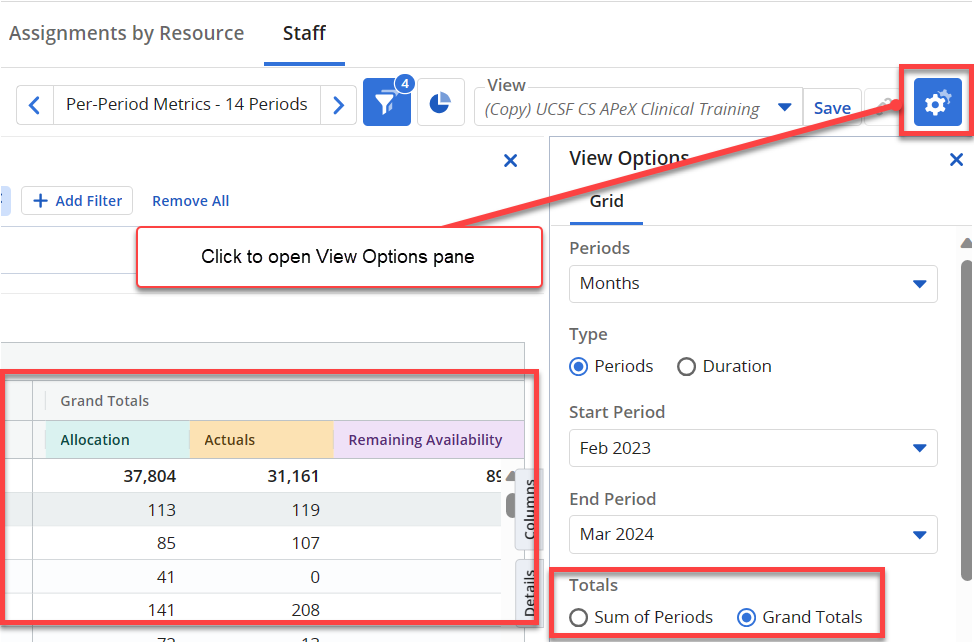
Type
Use the View Options button to further customize and update your views.
The Duration feature allows you to specify a start period and then a duration based on the start period.
In the example below, we have specified a Start Period of 'Prior Period', Number of Periods as 14 and Start Period Offset as -2.
If the current month is January, the Start Period becomes December.
However, as we have set our offset as -2, the start period displayed will go back two further periods. Therefore, the data displayed will start from October.
From October, there will be 14 months worth of data displayed.
Setting up views in this way is particularly useful as it allows you to set rolling dates and allows greater flexibility in the way you view this data.

Saving Views
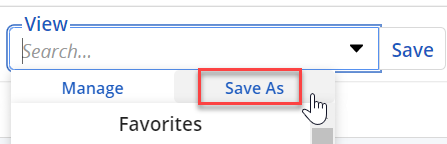
Once you have adjusted your filters, columns and view options, save your View by clicking on the downward arrow in the View drop down.

Select Save As.
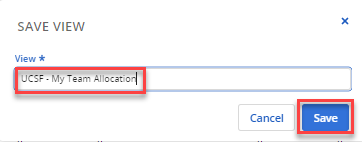
Give your view a name and click Save.
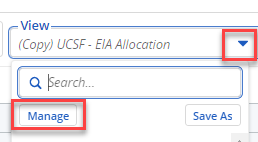
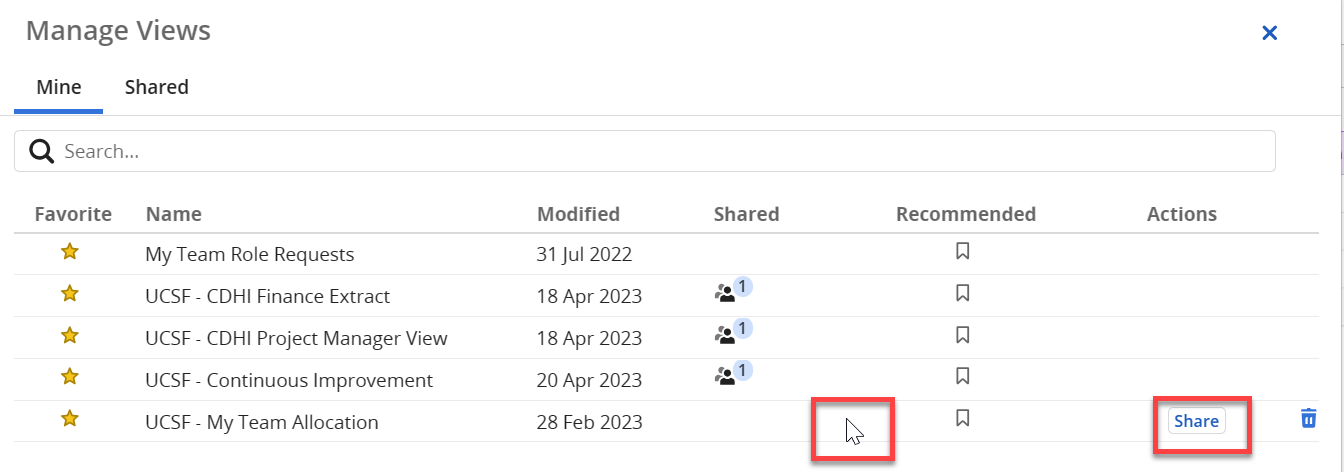
You may also choose to share your view with other users. To do this click on the down arrow in the View drop-down and select Manage.
Hover your mouse over the row for the applicable view until the Share button appears. Click on Share.
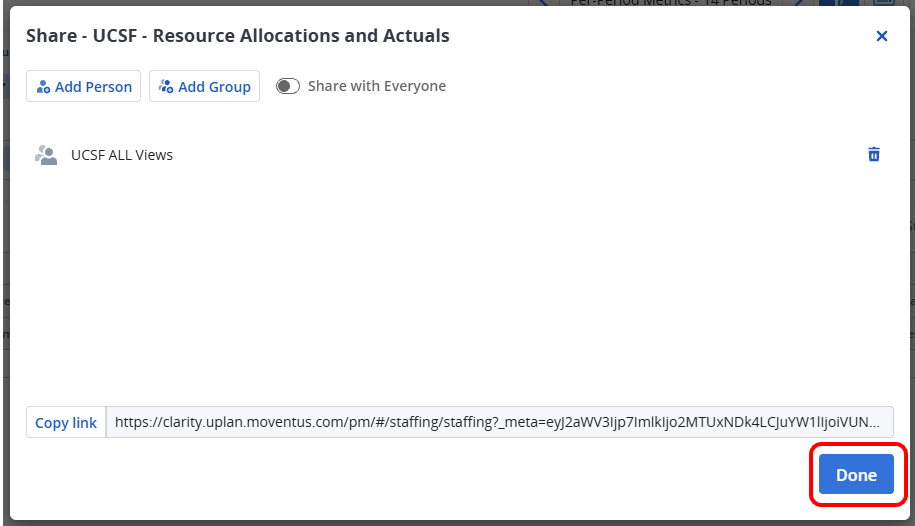
You will then be able to select the button to Add Group or Add Person. Use Add Group and select UCSF ALL Views to share with all users at UCSF or select Add Person to select individuals to share with.
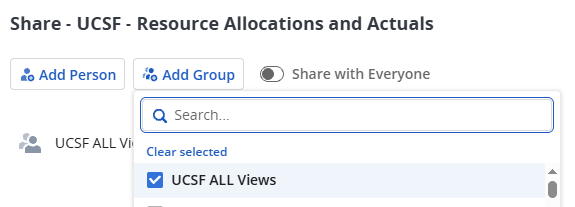
Then click on Done. Your view will now be available to other system users.