Note before you start: Before you add tasks to your project, make sure you have resources assigned to it, you can assign tasks only to resources who are on your project team.
You have the option to assign tasks to a role, while you wait for the Resource Manager to confirm the actual named resource working on the project.
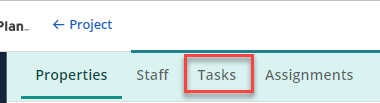
In order to view or edit tasks for your project, access your project record and click on the Tasks tab.
Views
Timeline View
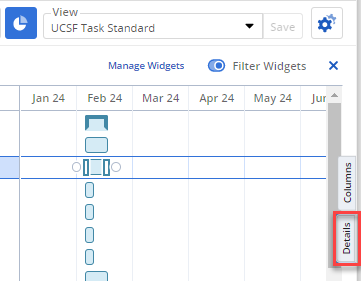
A standard task view has been created for use by UCSF project Managers. To utilize this view, go to the Timeline view. Select the UCSF Task Standard view from the list.
You may choose to build your complete Task Schedule for the Project from Timeline (Gantt) view.

Add Task
To add a new Task, click on the + button to add a new row.
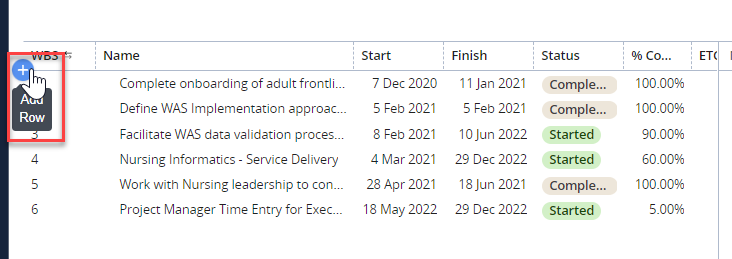
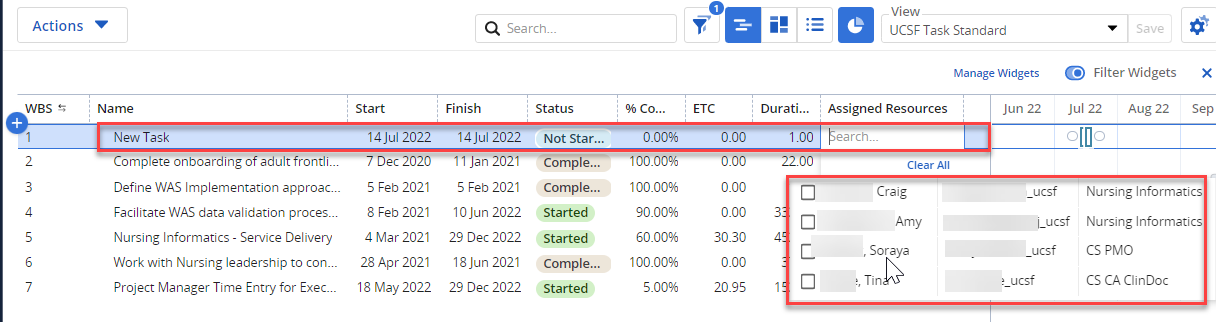
Add details such as Name, Start, Finish and ETC. You can also add Assigned Resources from this view.
Note: Resources will only be able to be assigned if they have already been added to the Staff tab of your project.
Delete Task
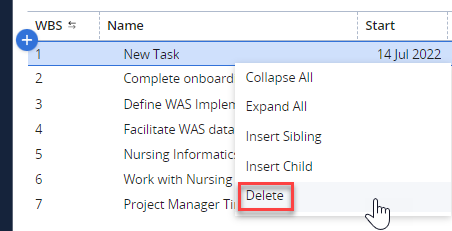
In order to delete a task, right click on the row for the task and select Delete.
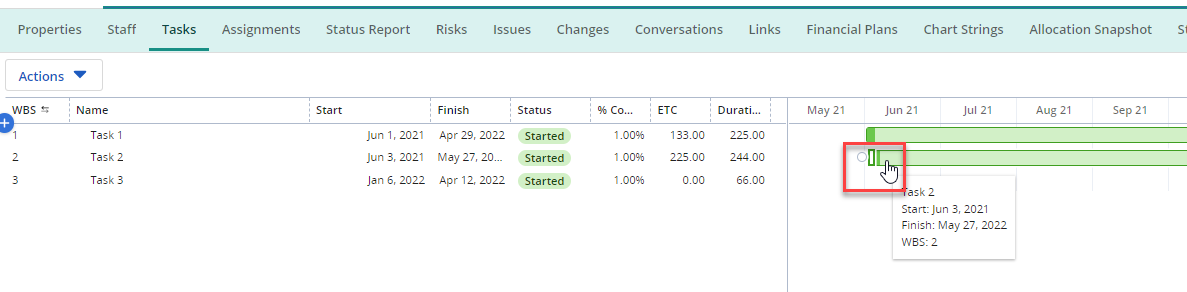
From the UCSF Task Standard view, you will see pre-defined columns of information, as well as a Gantt view of your tasks. In order to expand the Gantt view, hover your mouse over the vertical line until it changes to a symbol with two arrows.
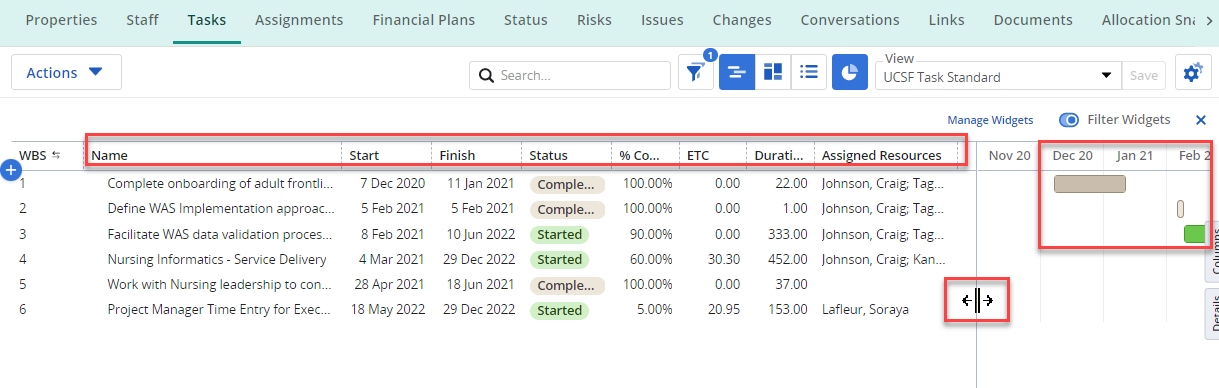
Click and hold this symbol and drag the vertical line to the left to show more of the Gantt section.
Details Pane
You can access further task information by single-clicking on your task row and then clicking the Details pane on the right-hand side of your screen.
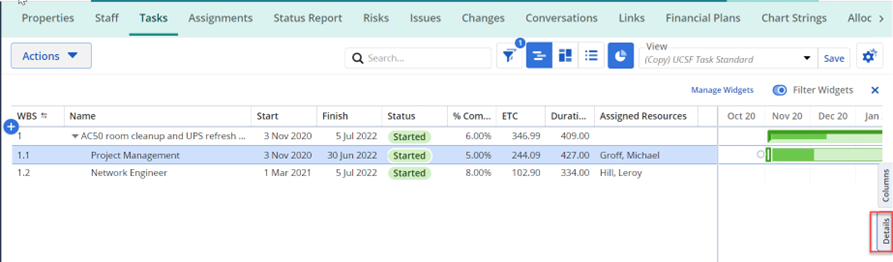
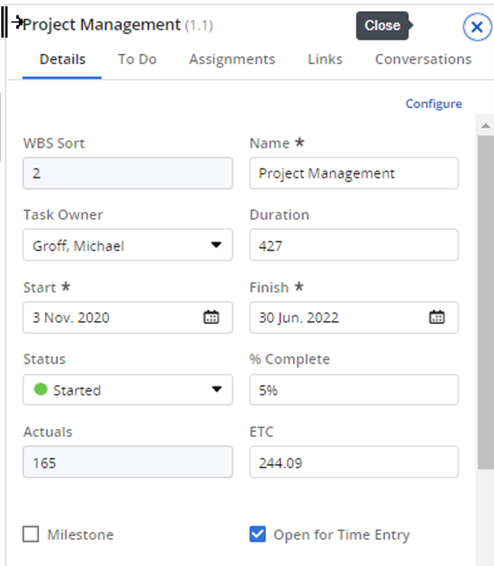
You can update many task details from this pane, including Name, Owner, Start and Finish date and Open for Time Entry.
Note: Ensure your resources are Open for Time Entry or this task will not be available on their timesheet.
Assignments
From the Details pane, you can click on the Assignments tab. Click on the + symbol and then select a name from the drop-down list. Ensure you add a Start and Finish date for your resource.
Note: Resources will only appear in the drop-down list if they have previously been added to the Staff tab of your project.

Dependencies
To add a task dependency on the Timeline view, ensure you have exposed enough of the Gantt view on the right-hand side of your screen.
Hover your mouse over the predecessor task until a circle appears at either end of the task.
Click and hold and drag your mouse down to the successor task.
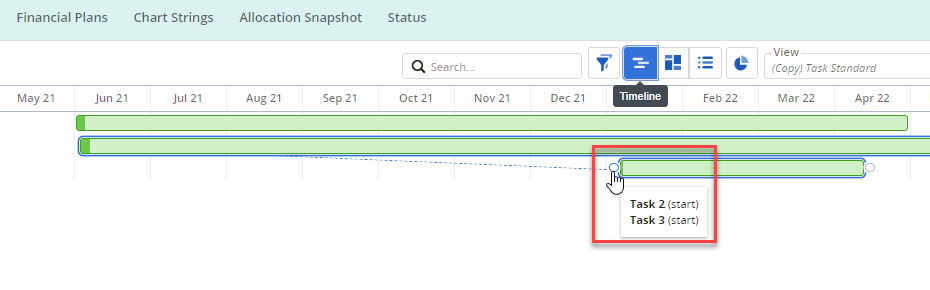
You may drag the line to either the start or the finish of the successor task, to indicate if the predecessor must finish before the successor starts, or if it must finish before the successor finishes.
Your dependency will be displayed as a grey, solid line.

Milestones
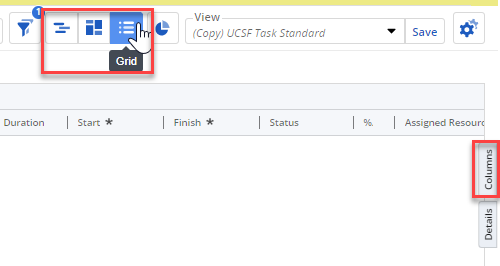
MyPPM allows the user to designate a task as a Milestone. To do this, add the Milestone field to your Timeline or Grid view via the Columns panel.
Search for the Milestone field and check the box beside the field name.
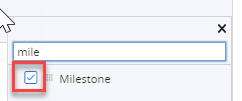
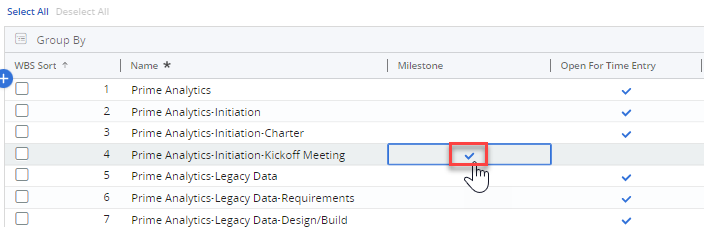
The Milestone column will now be visible in your task list. Check the box in this column to set a task as a Milestone.
Check the box in the Milestone column to set a task as a milestone.
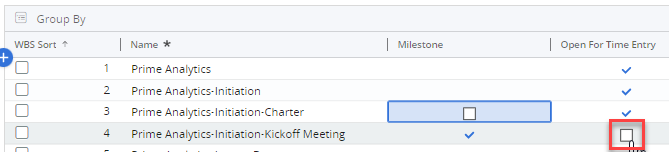
Note 1: A task cannot be set as a Milestone if it is open for time entry. If you try to do this, the following error will be displayed.
To rectify this, remove the check from the Open for Time Entry column, or create a new task as your milestone.
Note 2: A task cannot be set as a Milestone if there are resources assigned to that task. If you try to do this, the following error will be displayed.
To rectify this, remove the assigned resource from the task, or create a new task as your milestone.
Columns
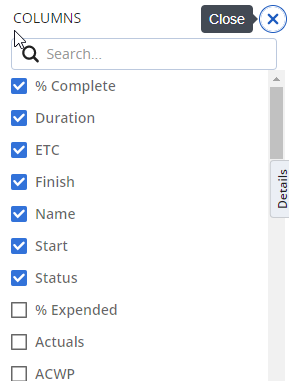
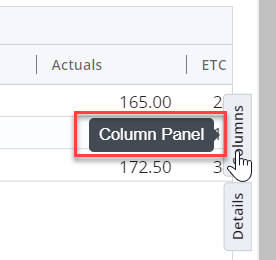
To change the columns that you see in the Gantt view, select the Columns tab on the right-hand side of the screen.
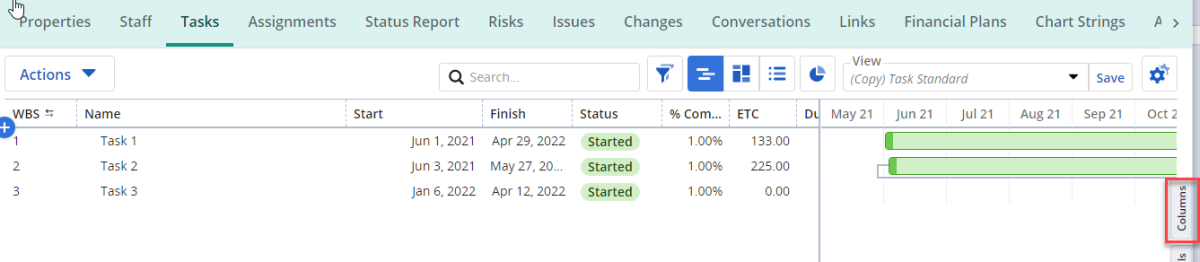
Then add or remove columns by checking or unchecking the boxes against each attribute.
Timescale
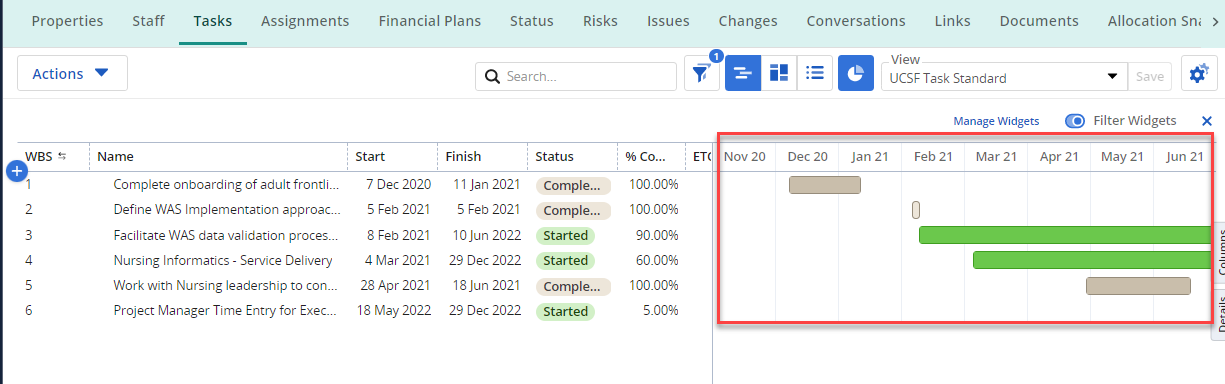
To edit the timescale on your Gantt view, click on View Options and select a value from the Periods drop down.
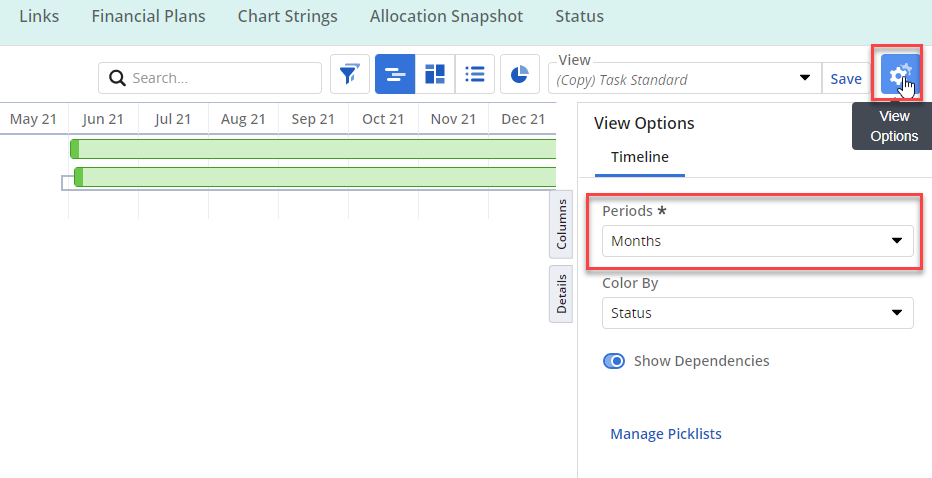
In this example we are changing from Months:
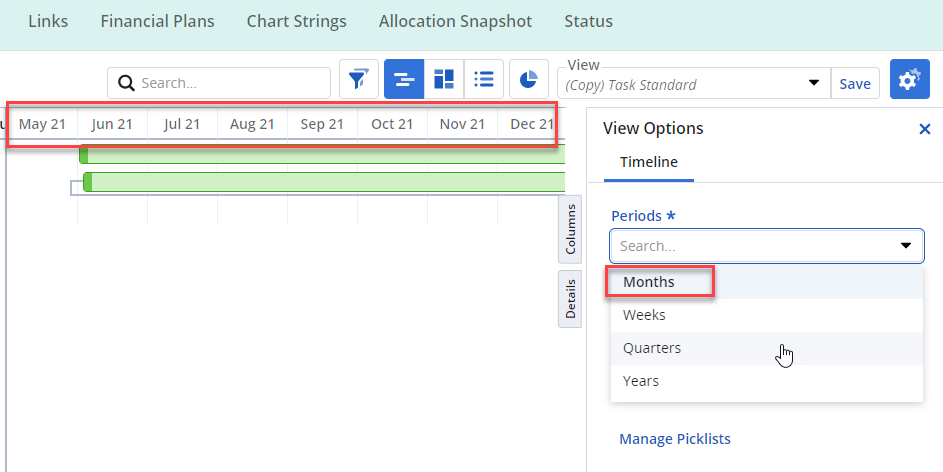
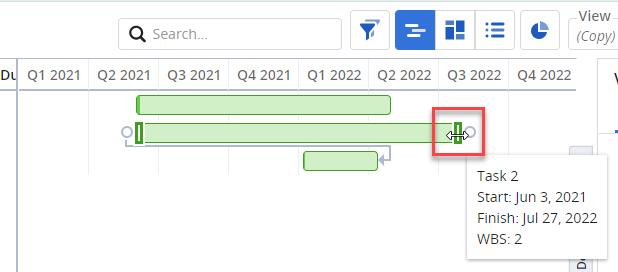
To Quarters:

Start and Finish Date
You may also adjust the start and finish date on a task by pulling on either side of the Gantt bar. Hover your mouse until it turns into a double-sided arrow, click and drag.
Note: Once a team member has posted actuals via timesheets to an Assigned Task, the Start Date for the Task can’t be changed.
Board View
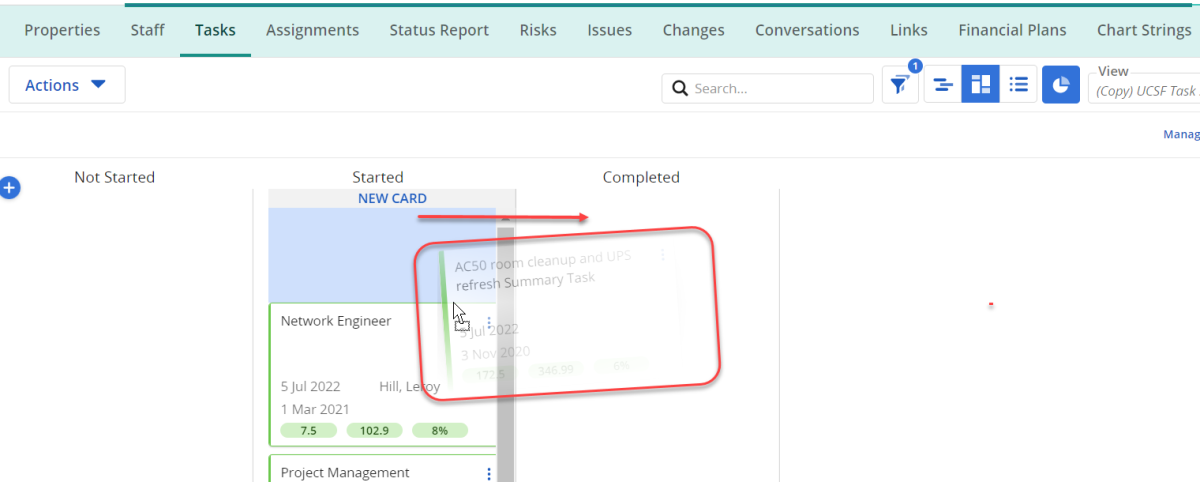
To access the Board view, click on the icon from the Tasks tab.

The Board view provides the ability to easily update the Status of the task by dragging it from one column to another. In the example below we are dragging a task from Started to Completed.
Grid View
The Grid view can be access by clicking the link in the top right-hand corner of the Tasks page.

Scroll left and right to view and edit task information on this page.

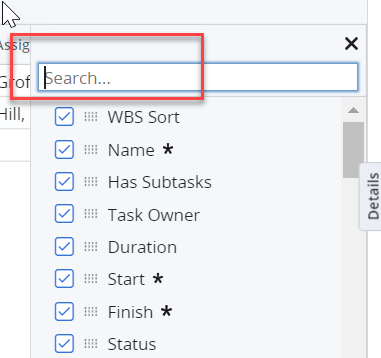
Use the Column panel on the right-hand side to add or remove columns.
Use the Search bar to search for fields and check and uncheck the boxes to add and remove columns from your view.
Edit Assignment
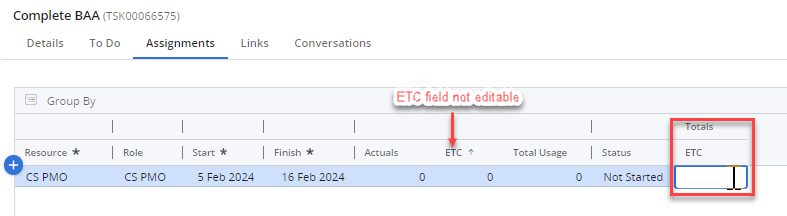
It is also possible to further edit your Assignments after you have made your initial updates on the Task tab. Once you have created your task, click on the Details pane.
Click on the Assignments tab. Edit Start and Finish dates as necessary.
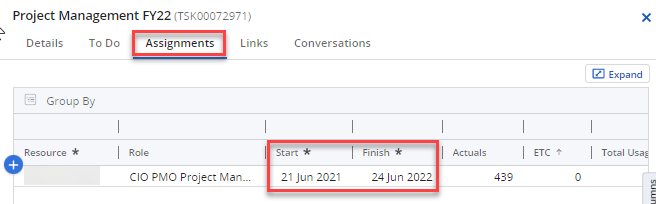
To edit the ETC for each resource, scroll across to the ETC field that is listed under the Totals section and enter the Estimate to Complete (in hours).
Edit ETC
You may edit the overall ETC for the task from the Grid view of the Tasks tab.

Edit the value in the ETC column.

The system will automatically distribute the ETC across the time periods. However, you may manually update these values if you wish.

Note: For most projects, there is one task per person per project for tracking time allocated and spent (projected and actual hours).