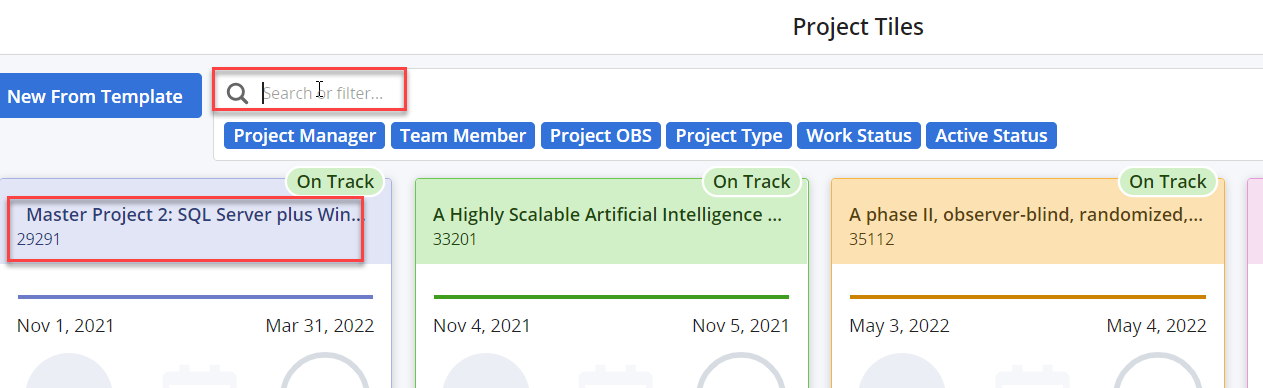
Use the Search bar to find your project. Click on the name of the project to enter the project record.
Navigate to the Tasks, Risks, Issues and Changes tab and ensure you have updated all that you wish to include in your Status Update. Review the process for updating these items.

Once you've prepared what will be included, select Status from the top ribbon menu, all the way to the right.

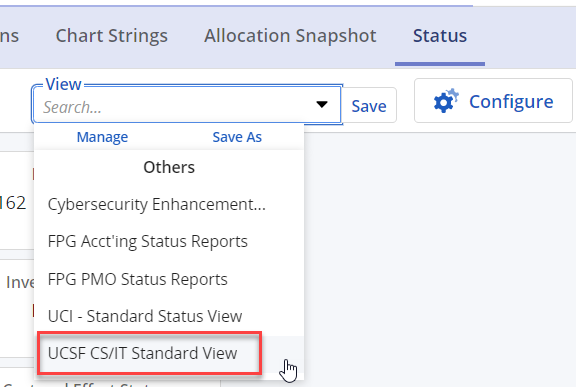
For users in Clinical Systems and IT a default View has been created for your ease of use.
Click on View in the top right-hand corner and select UCSF CS/IT Standard View.
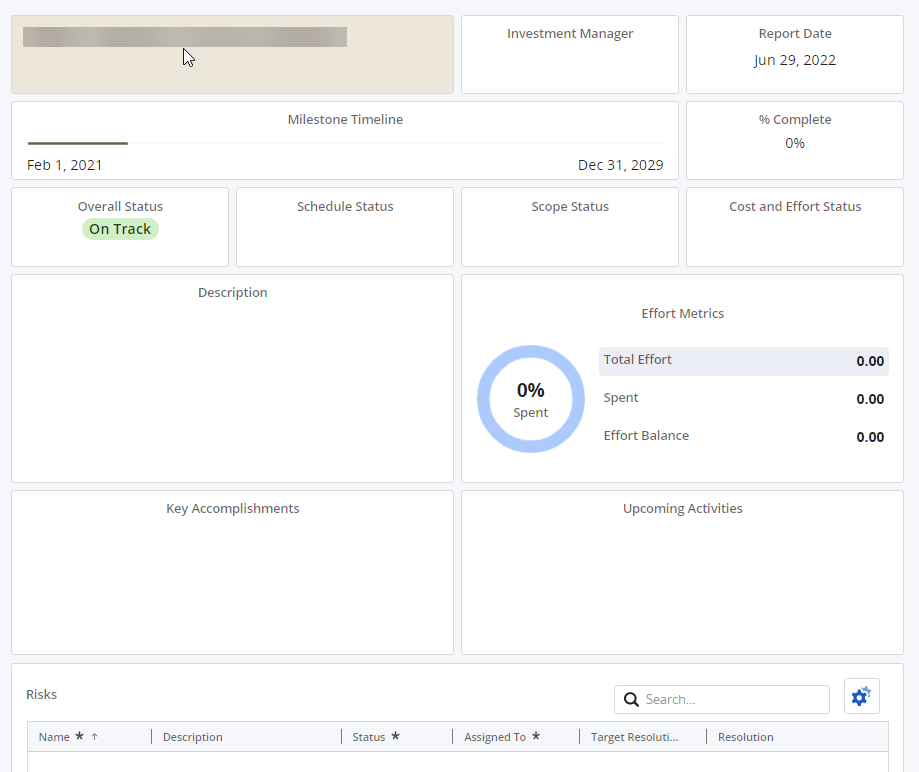
Ensure data is populated for each of the fields which are displayed as part of this default view.
NOTE: Report Date will need to be updated monthly
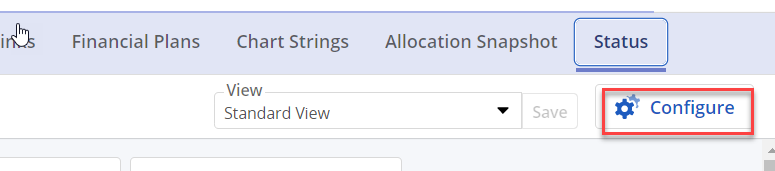
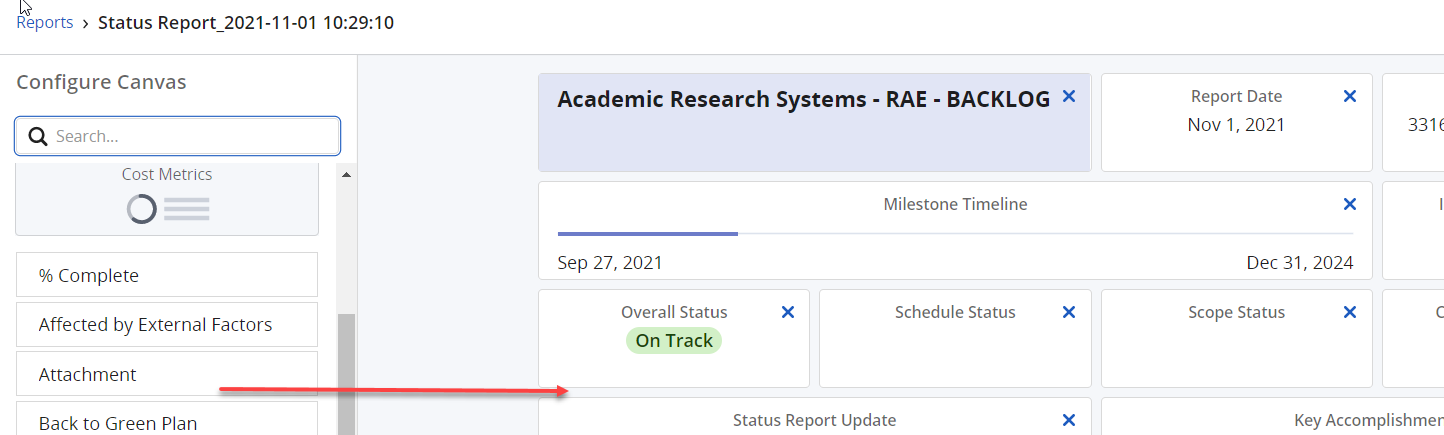
Should you need to alter the fields which are displayed on the Status page, click the Configure link in the top right hand corner to select which fields to include in your Status update.
Move the fields around by hovering over a section and waiting for your mouse to change shape to an arrowed cross. Once it has, you will be able to move the field.

You can also add items to your Status report by clicking on items on the left and dragging them over onto the canvas.
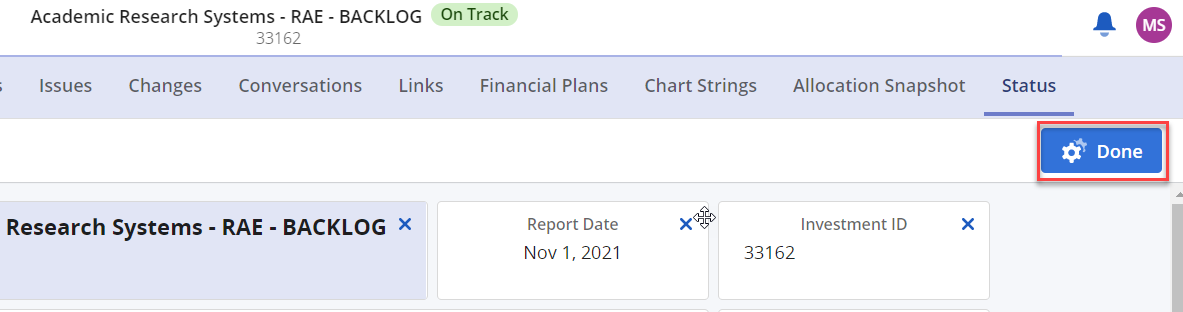
Once you are happy with the layout, click on Done.
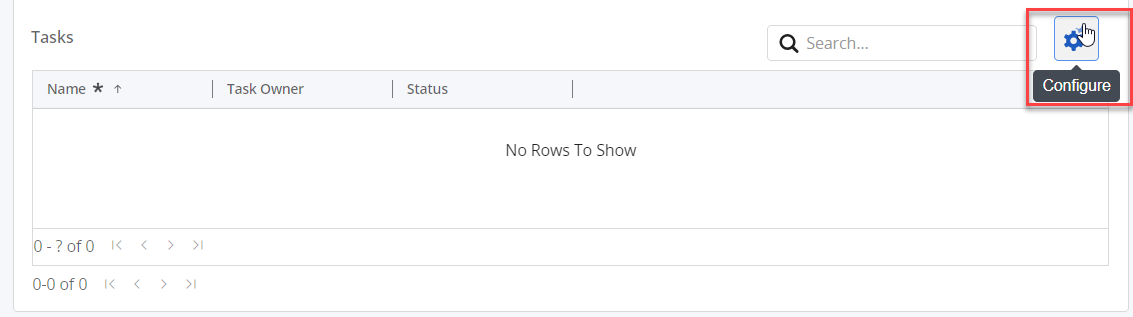
In order to customize sections such as your Task list, click on the gear icon to configure.
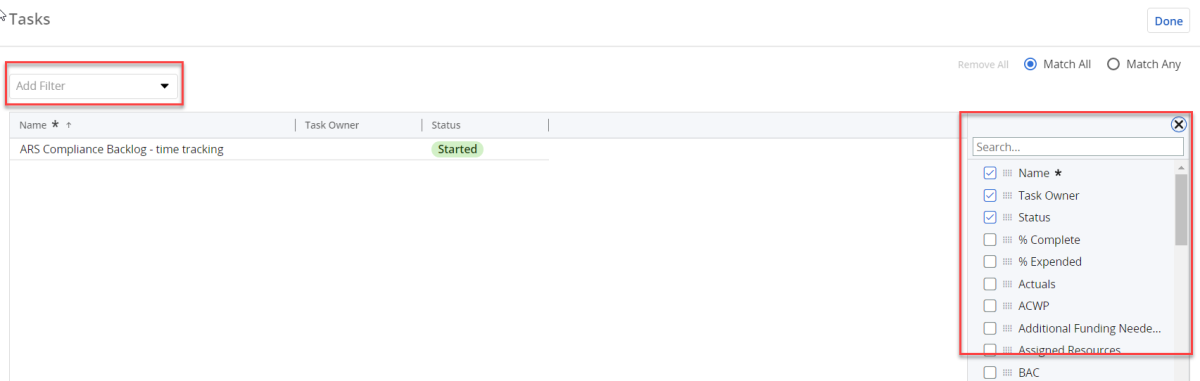
Use the filter section to choose which tasks you will display and choose the columns you wish to display by using the Columns pane on the right.
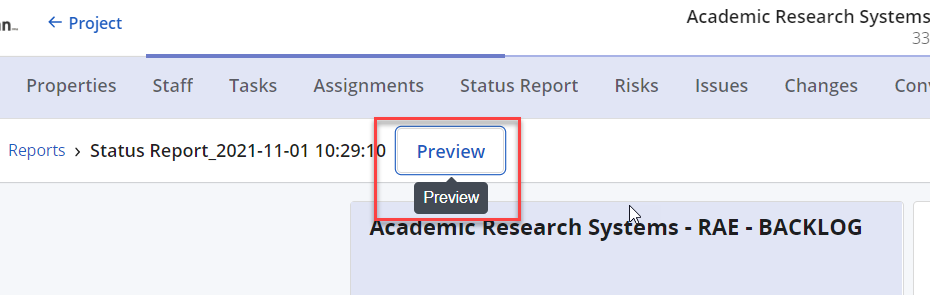
When you're done and everything looks right, click Preview in the left top corner.
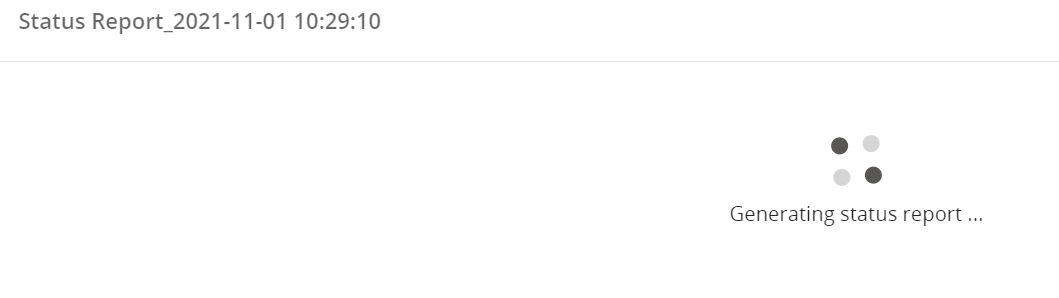
You will see a message which says, Generating status report…
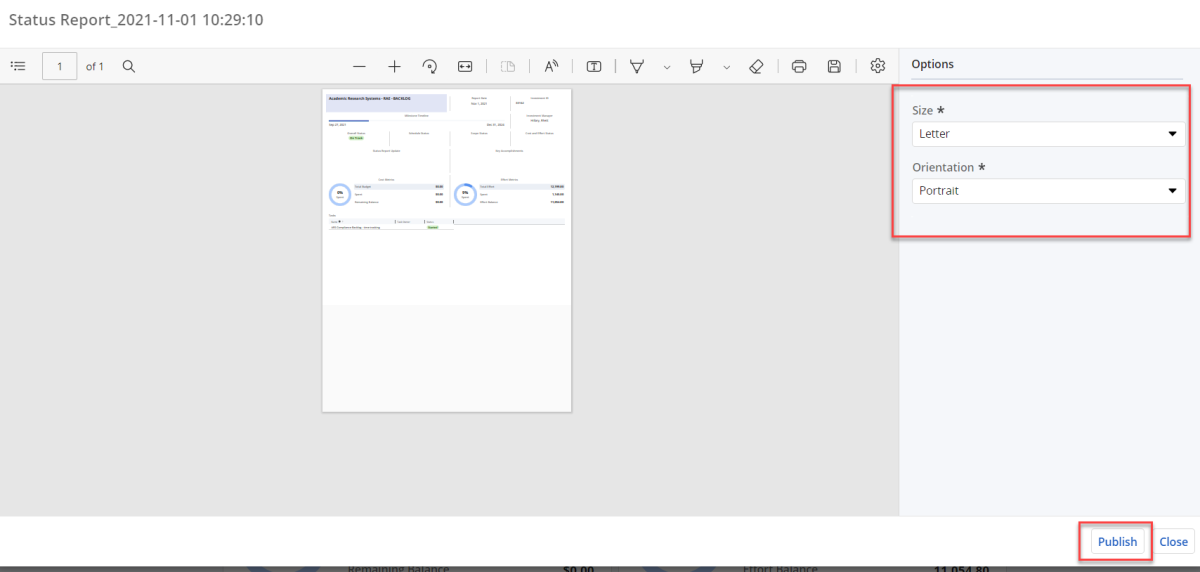
Choose your Size and Orientation and click Publish.
Once you have published your report, you can then click on the Reports link on the Status tab.
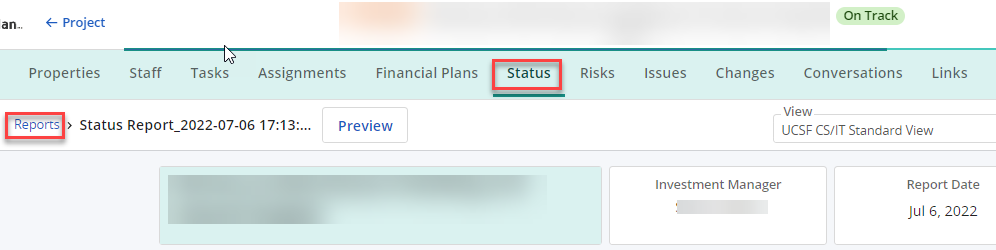
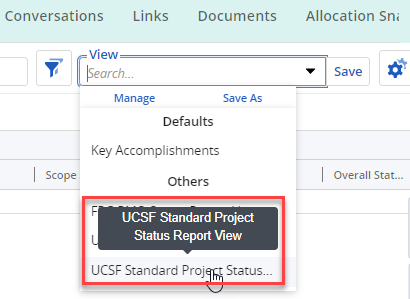
From the Reports page you can use the UCSF Standard Project Status Report View to display key fields.
Included in this view is the Attachment field which provides a link to the pdf version of the report. You may need to scroll to the right to see this column.
