System requirements
Hardware requirements:
- Processor: 1GHz Pentium III or above (Itanium is NOT supported)
- RAM: 512MB minimum (1GB recommended, or higher if required by OS)
- Free Hard Drive Space: 2GB free space on system drive (typically C:\)
Supported Windows versions:
- Windows 11
- Windows 10
- Note: If you plan to upgrade to Windows 10, you will need to update to the SEP v14.2 or newer before upgrading to Windows 10.
- Windows 8 / 8.1 (not RT) (32-bit and 64-bit)
- Windows 7 (32-bit and 64-bit)
- Windows Server 2012 and 2012 R2
- Windows Server 2008 (32-bit, 64-bit, R2: SP1 and SP2)
- Windows Essential Business Server 2008 (64-bit)
- Windows Small Business Server 2011 (64-bit)
- Windows Small Business Server 2008 (64-bit)
SEP version support for Windows 10 updates and Windows Server 2016 / Server 2019: https://knowledge.broadcom.com/external/article/150468/system-requirements-for-endpoint-protect.html#SEPWin
Download the UCSF SEP client installer
- Verify you are on a UCSF connection (ethernet, UCSFwpa or vpn@UCSF).
- Go to https://software.ucsf.edu/content/endpoint-protection.
- Under Windows Downloads, click on the appropriate link:
- For all 32-bit Windows clients, choose Symantec Endpoint Protection (SEP) for Windows Download.
- For all 64-bit Windows clients, choose Symantec Endpoint Protection (SEP) for x64 Windows Download.
Uninstall old and other client security applications
- Note: With the exception of Microsoft Defender, you will need to uninstall any other anti-virus/anti-spyware, personal firewall or endpoint protection programs you may have.
- Note:: Having multiple anti-virus/anti-spyware programs may cause false positives and could have adverse effects on your computer's performance.
Run the UCSF SEP client installer
- Double-click the file you downloaded from the software@UCSF page and follow the on-screen instructions. Notes: (1) You must have administrator privileges to install the SEP client. (2) If you are running a 64-bit client and receive a setup.exe could not run error message, right-click on the file and click on Run as administrator...
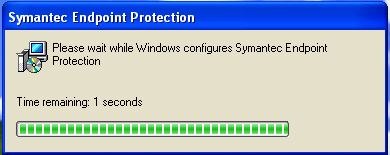
- A Symantec Endpoint Protection dialog box should appear and begin the installation.
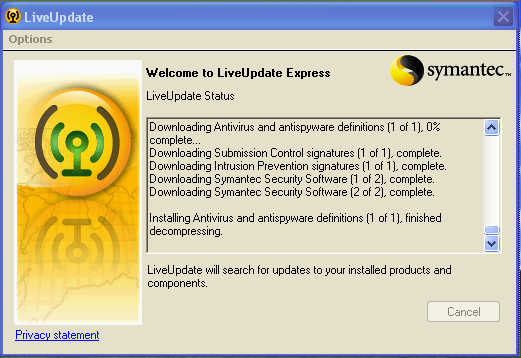
- During the installation process, LiveUpdate may launch and search for any available updates.
- Once the installation is complete, you will be prompted to restart your computer.

Restart your computer after installation
After your computer restarts:
- SEP client installation should be complete.
- The SEP icon with a green dot will appear in the taskbar on the bottom right of your screen.

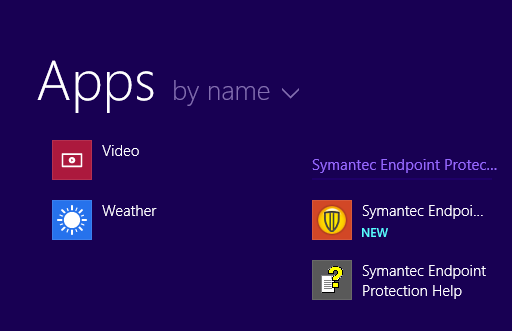
- For Windows 8/8.1, SEP will also be visible on the application Windows tile screen.