Overview
How-To pages are leveraged on the IT Website to present information related to the a specific service offered by UCSF IT.
Introduction
How-To content might range from service best practices, step-by-step instructions, and frequently asked questions. A how-to article acts as a vehicle to assist end users with utilizing a service offering.
As a content editor, most associated service content will be How-To articles.
Navigational Enhancements
The left-hand navigation that provided quick access to How-To articles associated with the Service has been updated to automatically include associated How-To articles via the See related How-Tos link and Get more Guidance section at the bottom of the page.
Right-hand navigation has been added to provide quick navigation to the sections within the How-To article.
Composing a How-To Article
Step1
Log into the IT Website.
Step2
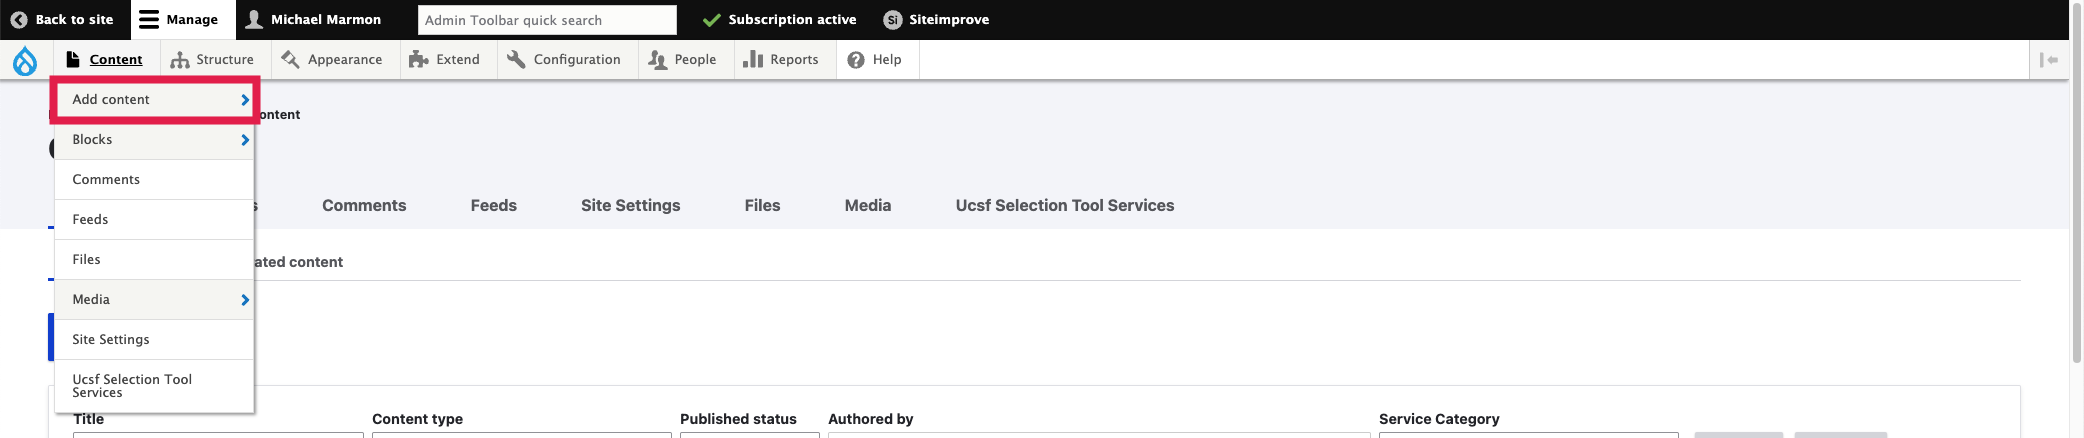
Select the Content tab at the top of your screen.

Step3
Select the Add Content option.
Step4
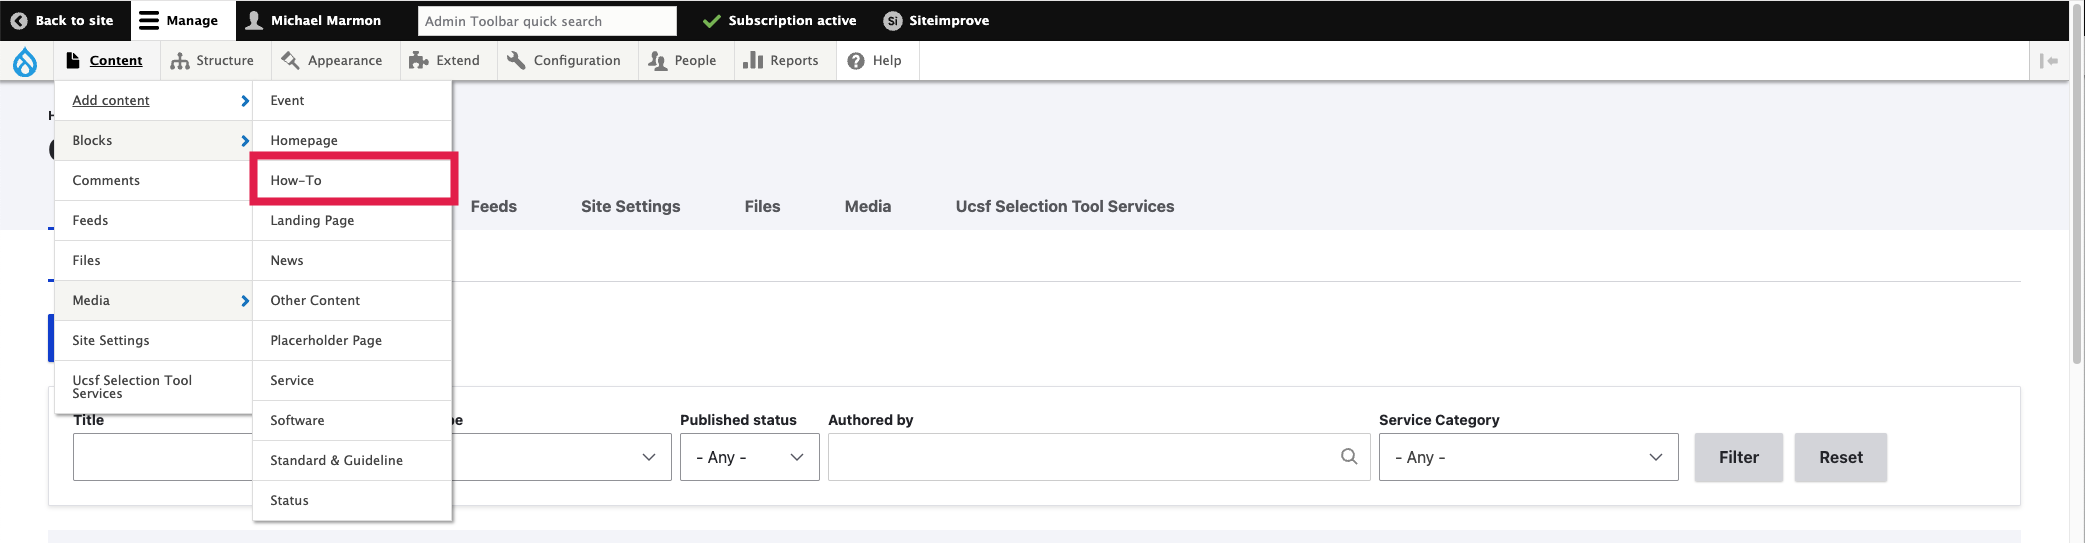
Select How-To option
Step5
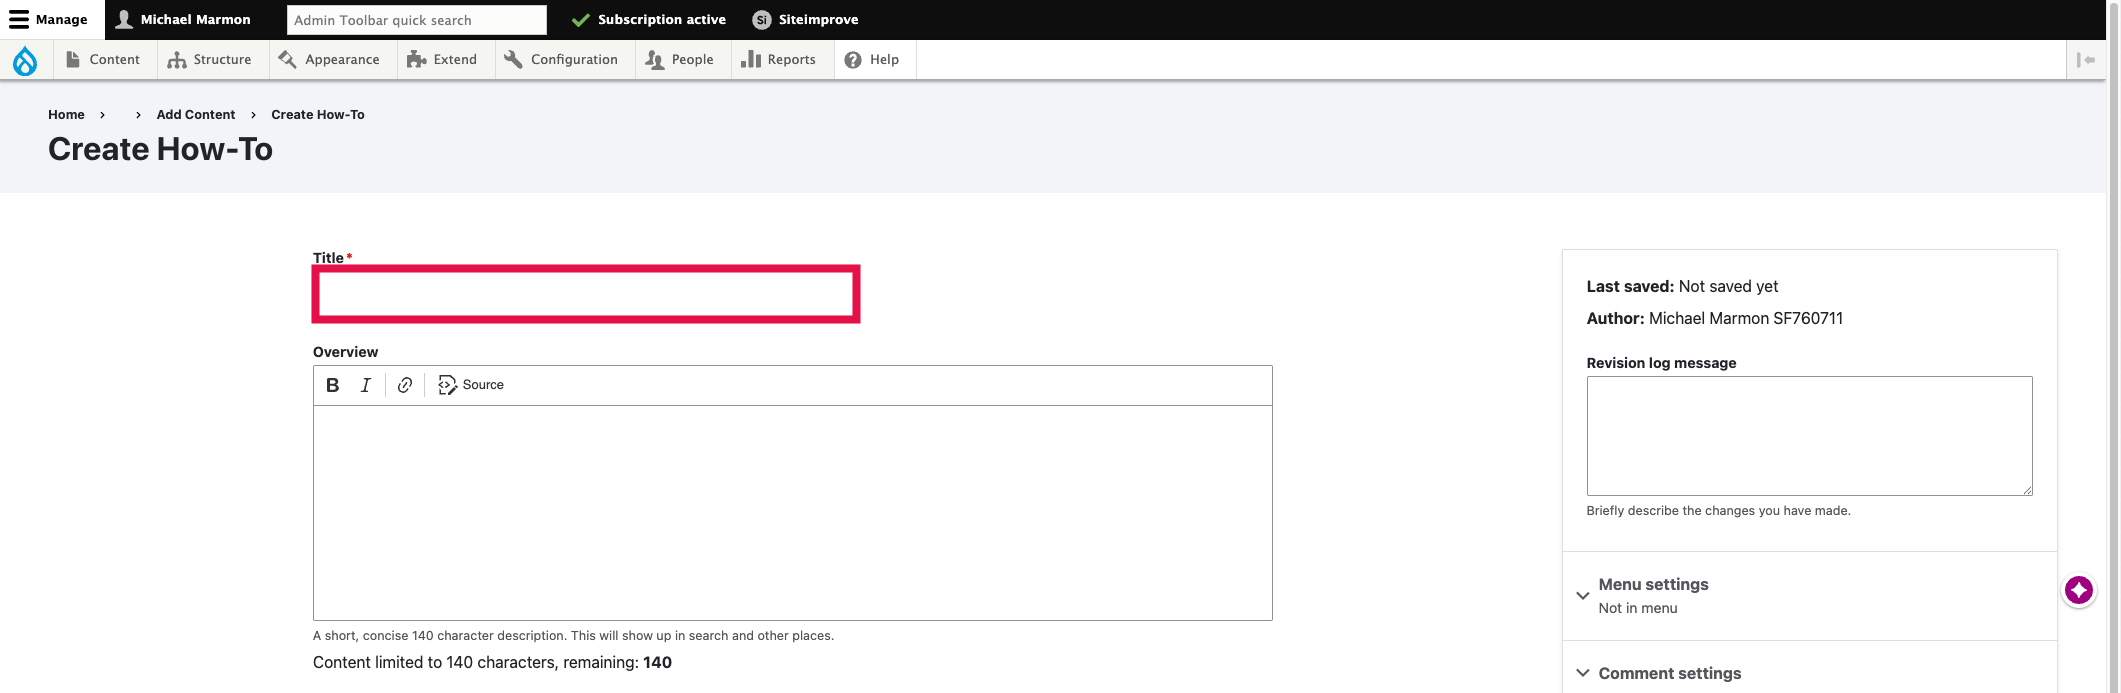
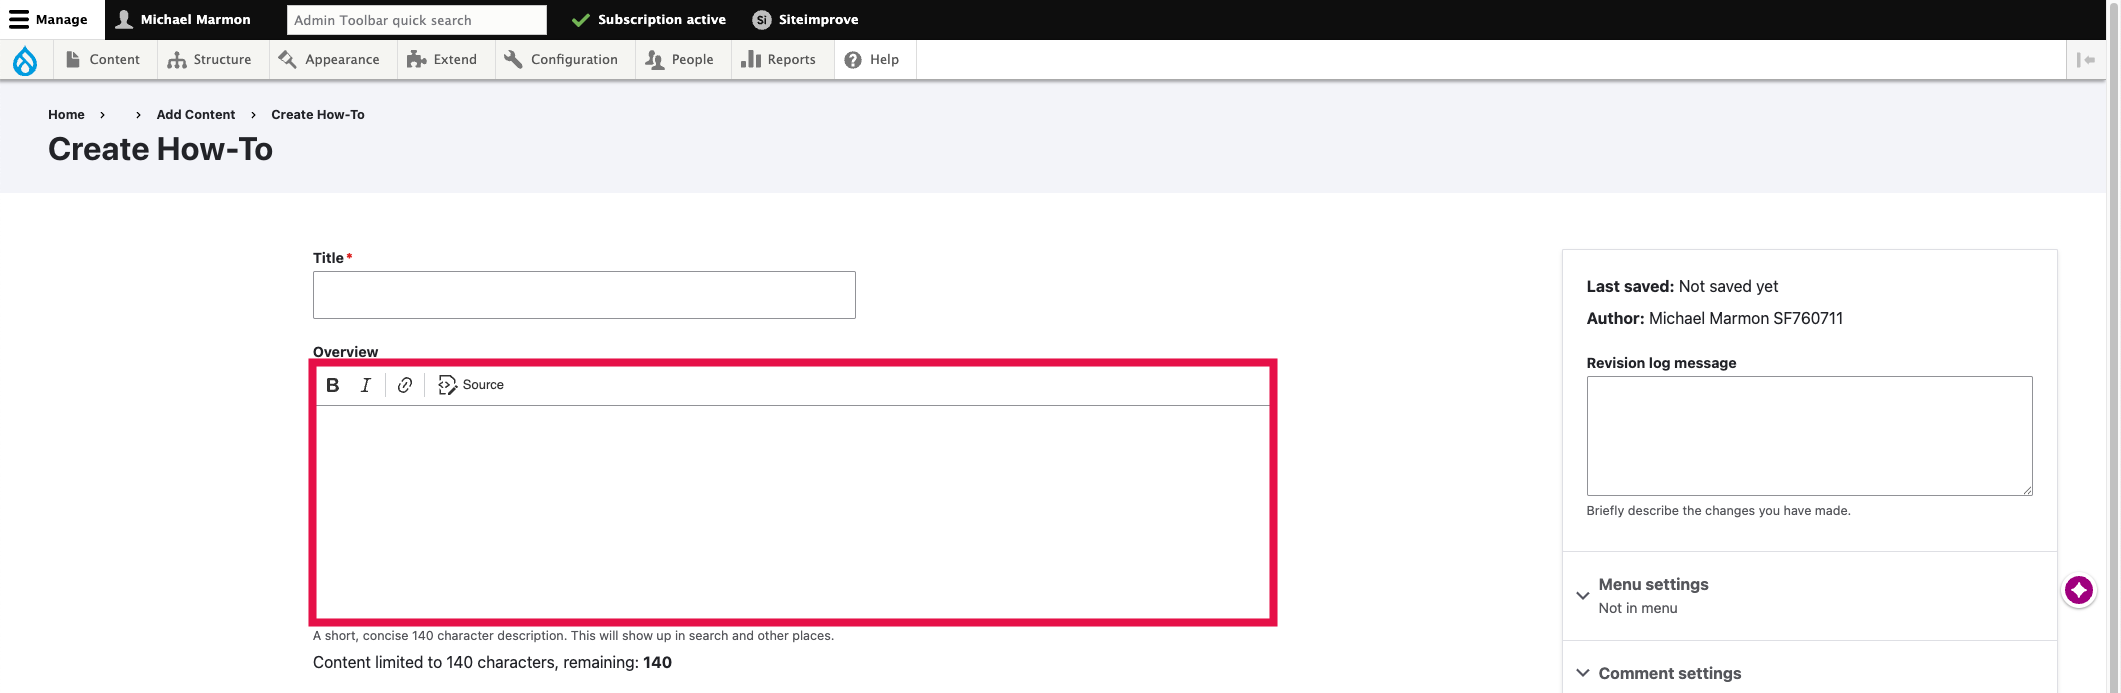
Add a Title for the page.
NOTE: It is recommended to include the name of the associated Service in the title if not indicated (e.g., Box: Add, Edit, or Remove a Collaborator).
Step6
Add an Overview for the page.
An Overview for a service will be included on the published version of the page and search results. An overview should be include a brief description of the article and the processes within it.
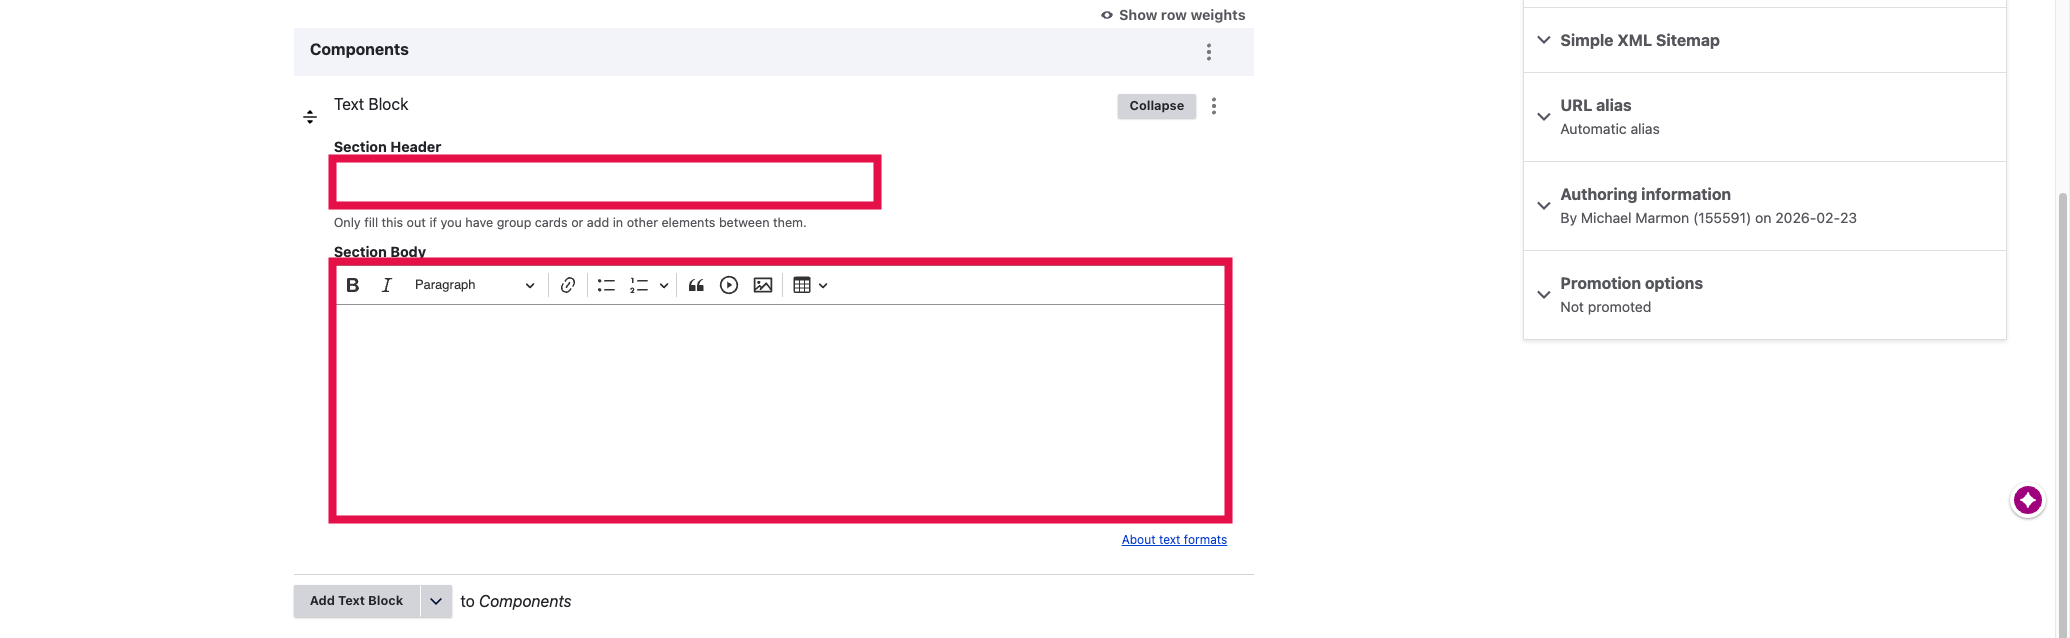
Step7
Add a Content Block Type.
Under the Components section, select the Add Text Block option before entering a Section Header and your Section Body content to add the section to the right-hand navigation. Within a Text block, you can add text, images, and videos among other options. You can also add Accordions and Step-by-step blocks to your article as well.
Step8
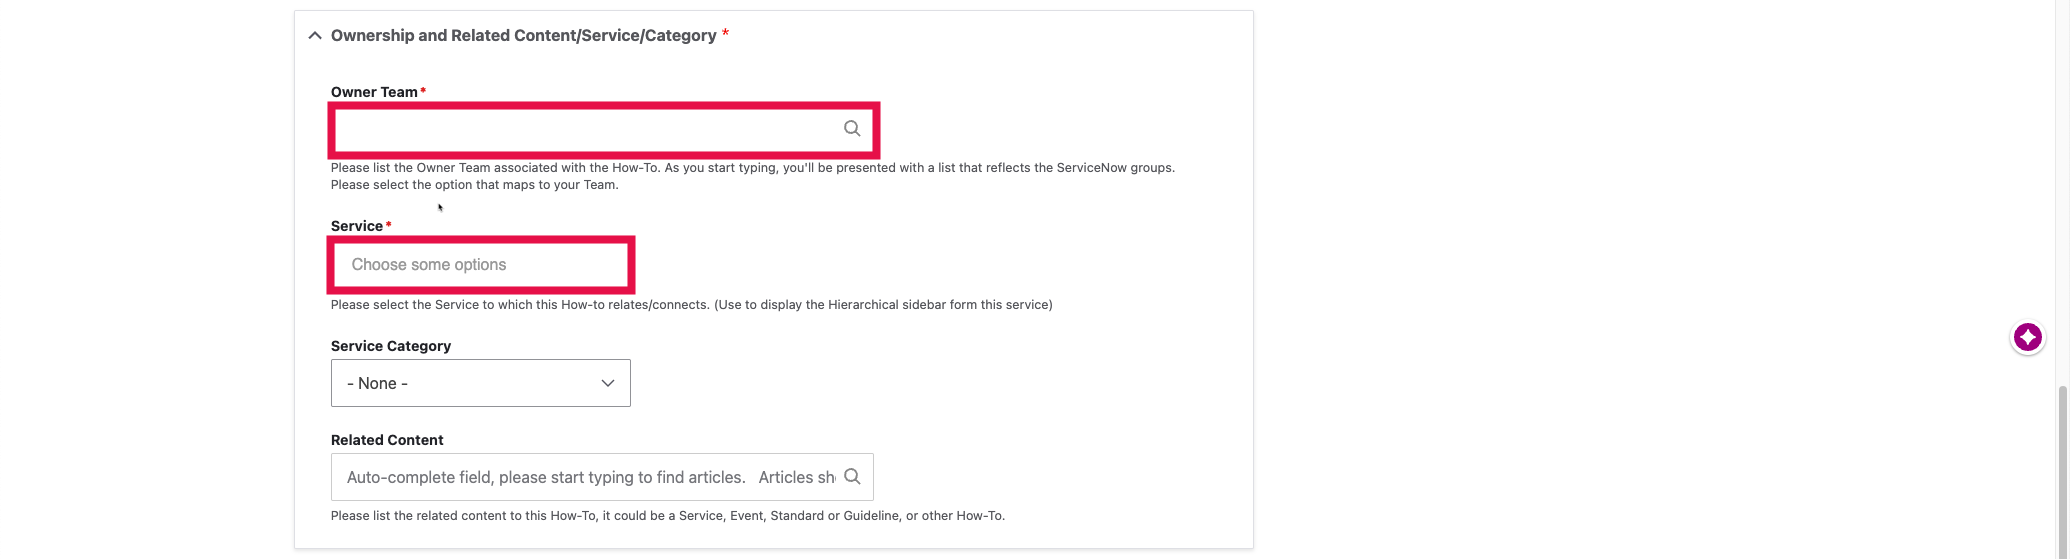
Set the Ownership, and Related Content/ Service/ Category information.
Within the Ownership and Related Content/Service/Category section, you will need to set the following fields:
- Owner Team - Owner of the service (e.g., IT DWS Collaboration)
- Service - Related service for the How-To (e.g., Microsoft 365)
- Service Category - This is the category that this service falls within (e.g., Email and Collaboration)
Step9
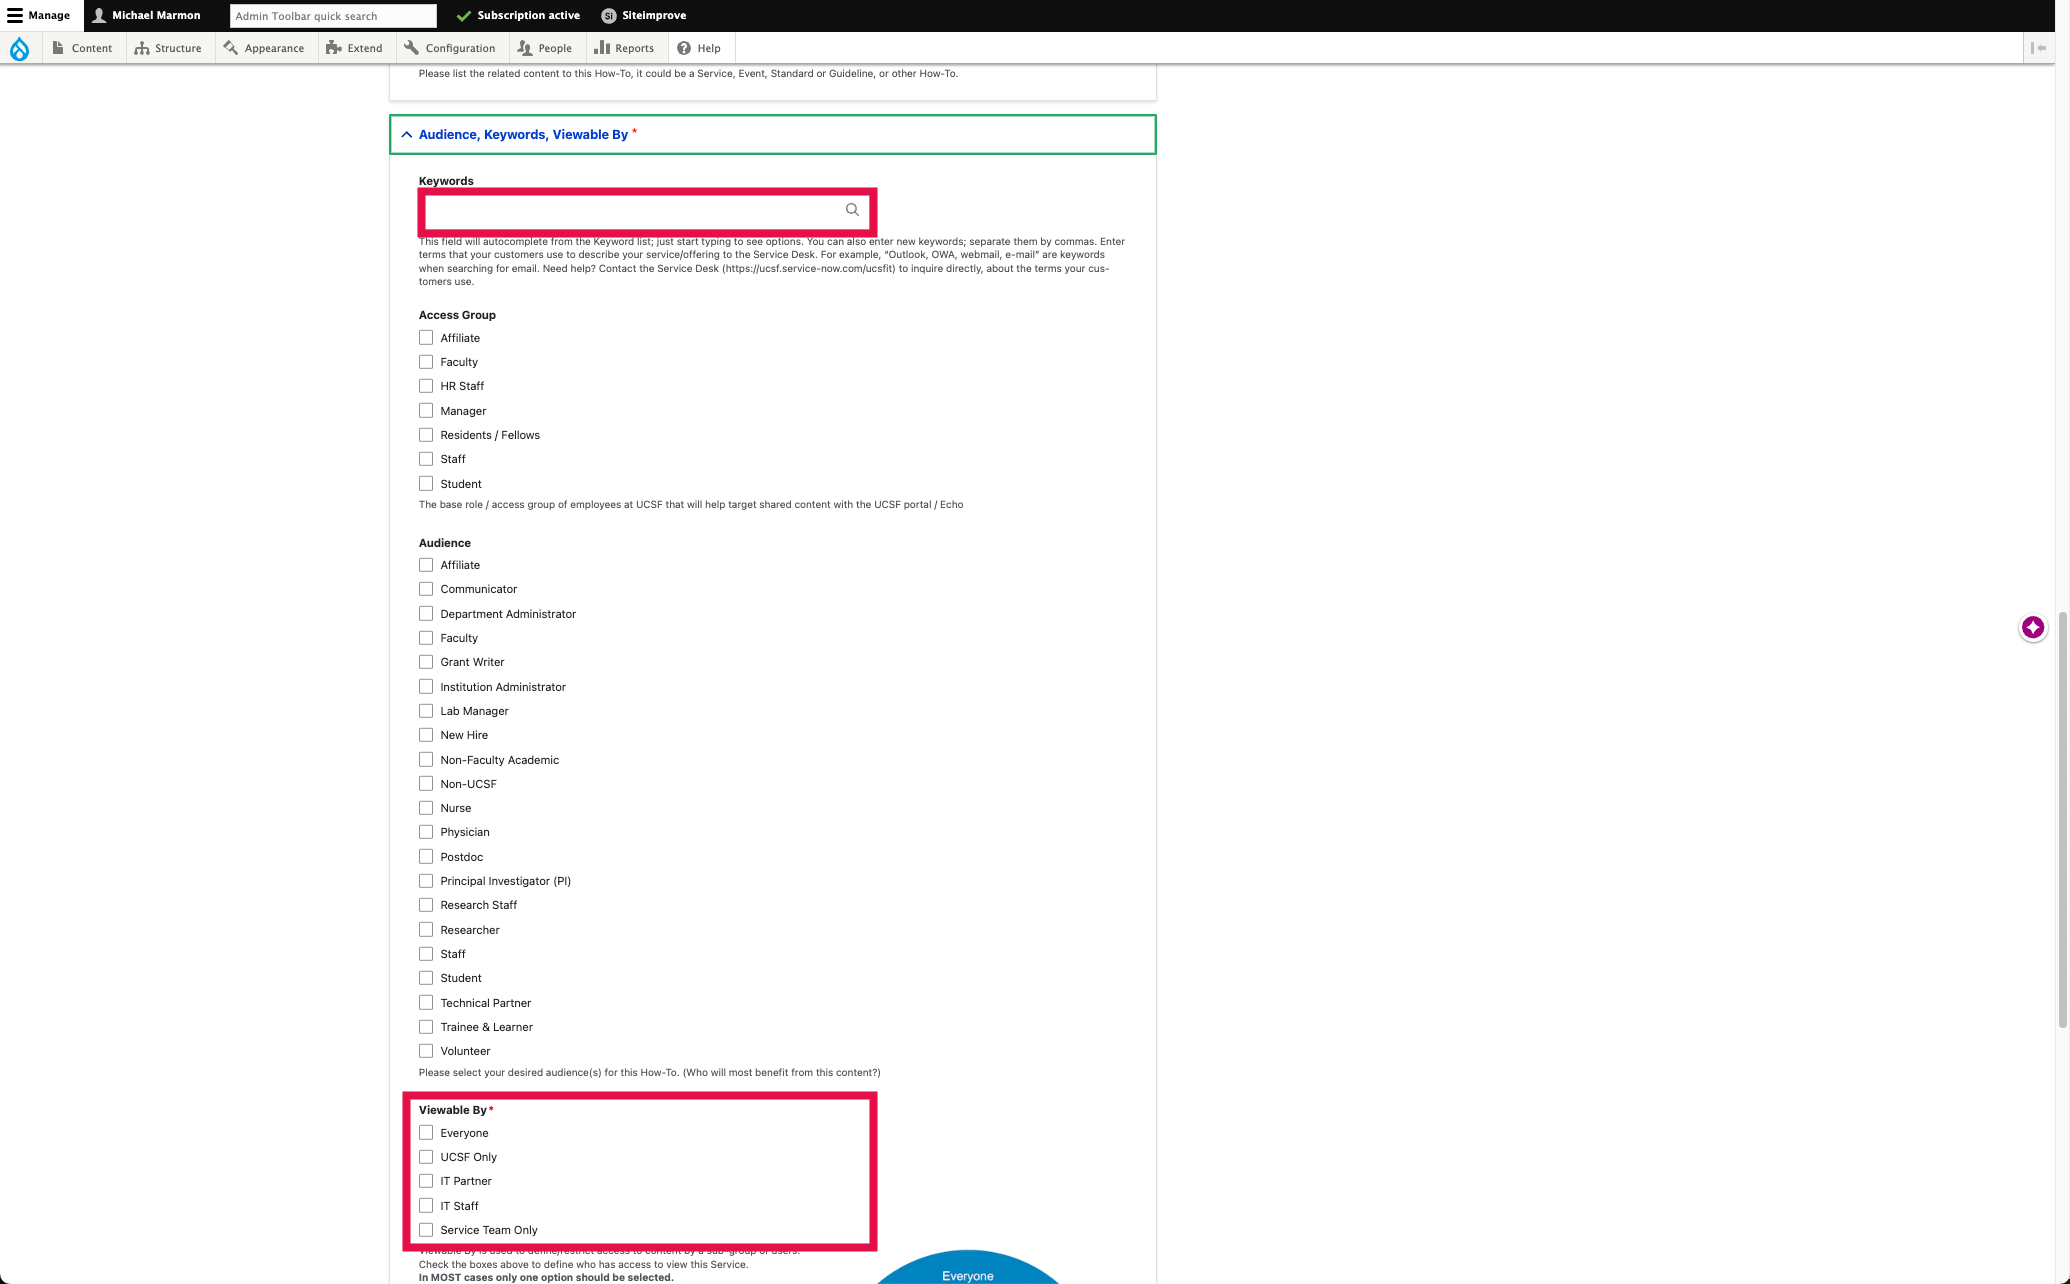
Enter the Audience, Keywords, and Viewable By information for the How-To.
- Keywords - Terms used to enhance how searchable your How-To article is within the IT Website. It is encouraged to add multiple keywords to your How-To content. (e.g., For Microsoft Word, keywords could include Microsoft Word, Microsoft, Word).
- Audience - This is the intended audience for the article and can include single or multiple audience types (e.g., Affiliate, Faculty, Staff, and Student).
- Viewable By - The Viewable By field will determine who can access your page. For information that is considered public, the page should be set to Everyone. Pages that are considered sensitive should be set to UCSF Only (e.g., Requires login) or Service Team Only.
Step10
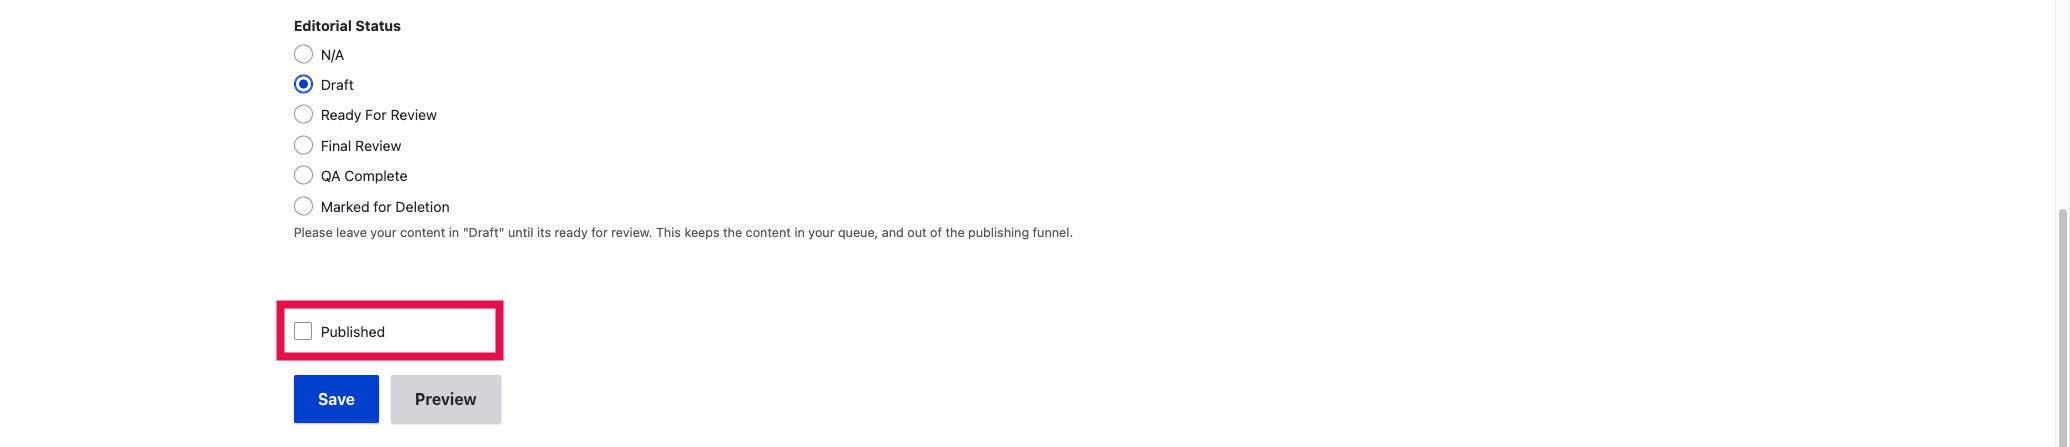
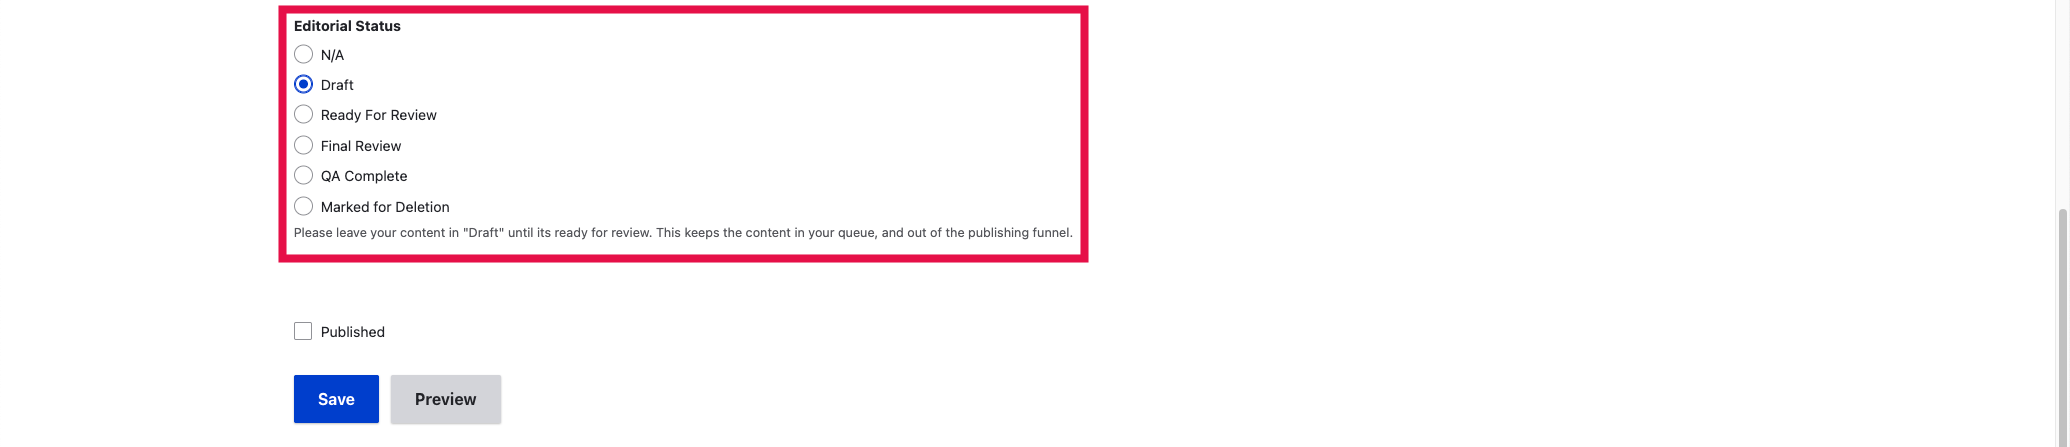
Set the Editorial Status.
When your content is ready for review, select the Ready for Review option in the Editorial Status section.
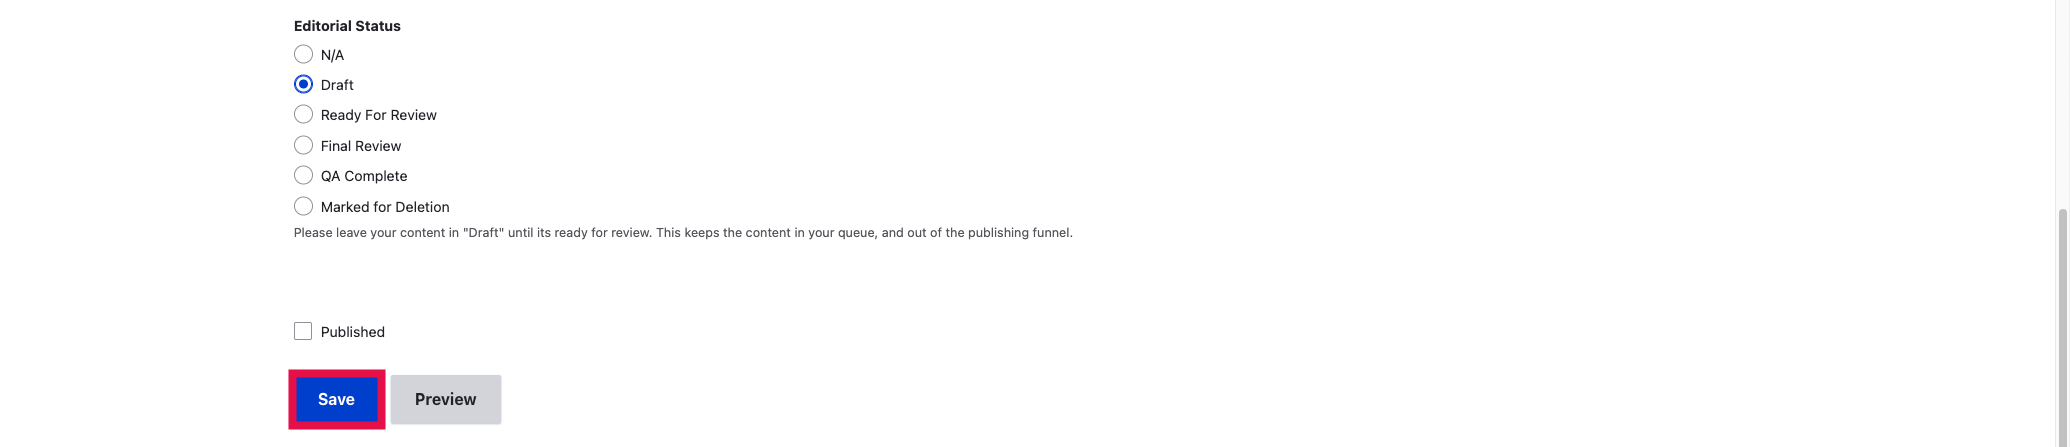
Step11
Save your Content.
Click the Save button to save the information within your how-to article.
Step12
Publish your How-To article content.
Content can be published by selecting the Publish checkbox before clicking Save.
NOTE: The ability to publish content requires a distinct permission with the IT Website.