Overview
There are two types of meeting invites within Outlook, one-time and recurring invites with the latter occurring on an ongoing basis into the future or until a defined end date is reached. While this documentation will assist with recurring room reservations for longer than six months, these steps will assist you with browsing and selecting a on-site or virtual location for these meetings.
There are two types of meeting invites within Outlook, one-time and recurring invites with the latter occurring on an ongoing basis into the future or until a defined end date is reached. This documentation will assist you with browsing and selecting a on-site or virtual location for these meetings.
NOTE: If you would like to create a recurring room reservation for a on-site location with a end date of less than six months, we encourage the use of Zoom Workspace within Outlook.
- Select the Calendar icon in Outlook.
- Select New Event.
Enter a Title for the event.

Add the Attendees for the event.

Set the Date and Time for the event.

Select Make Recurring.

On the Repeat menu, select the recurring frequency and days for the recurring meeting.
NOTE: Be sure to set an end date for your recurring reservation. If the end date is less than six months, it is encouraged to use Zoom Workspace in Outlook for these types of in-person reservations.
Click Save to commit your recurring reservation selections.

Select the Add a Room or location field to browse or search for a space.
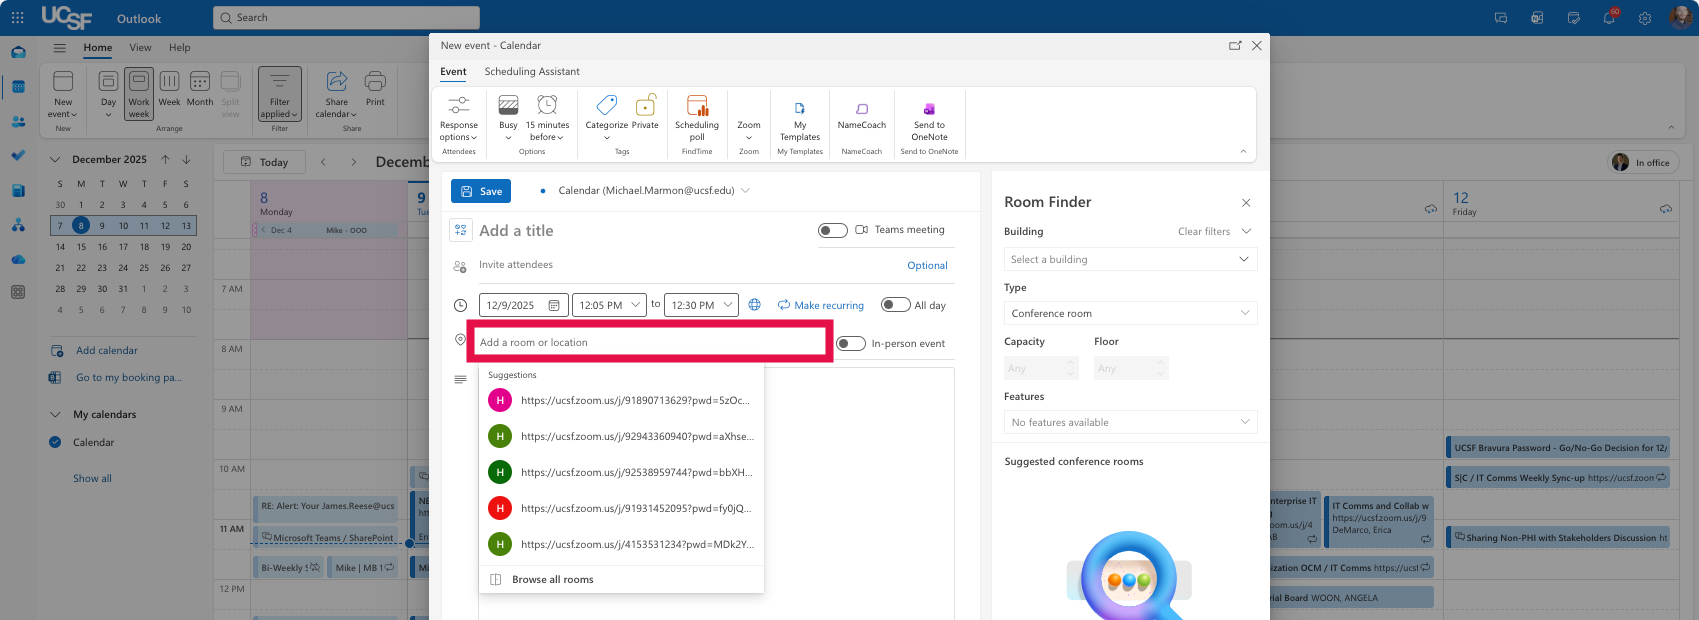
Select the Browse all rooms option to locate specific rooms. If this meeting is virtual, click on the Zoom icon to add a Zoom meeting room to the invite.
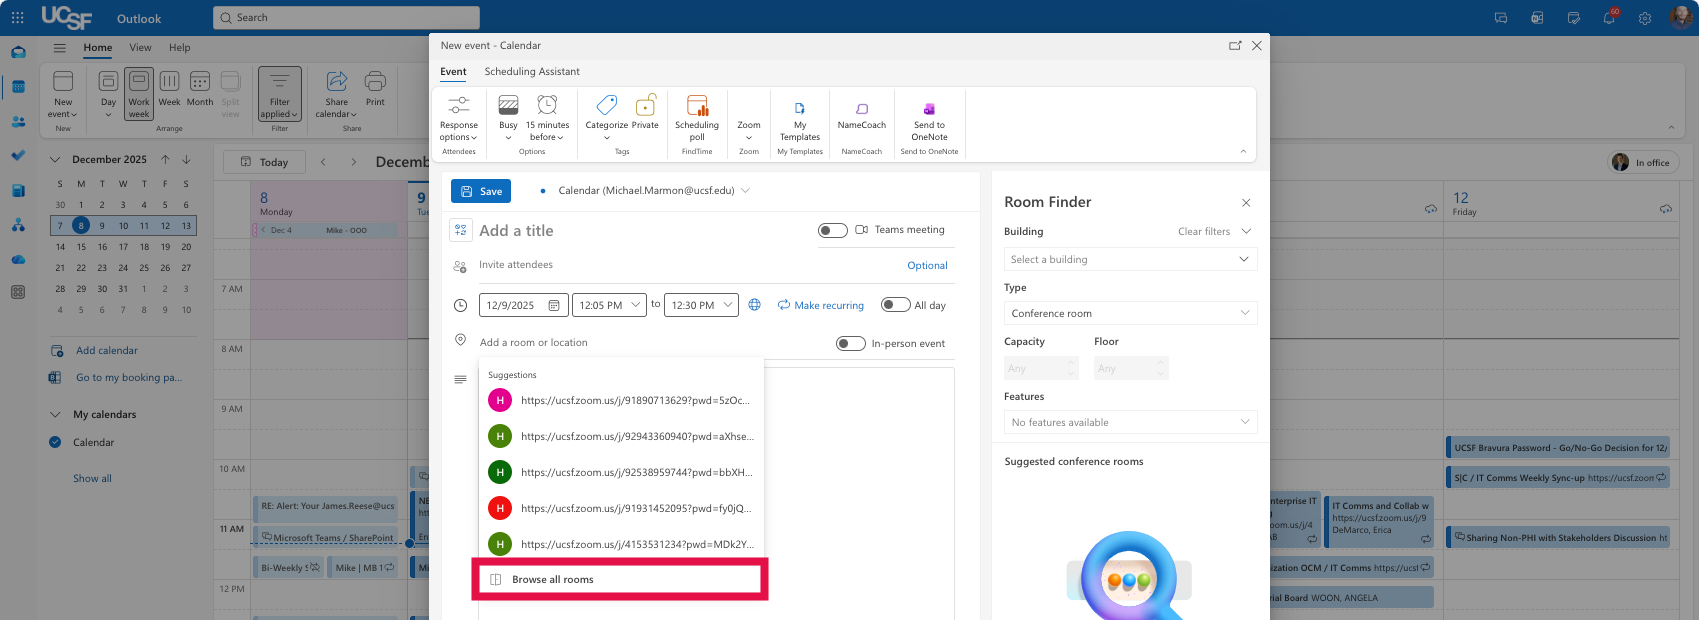
NOTE: In the Room Finder window, you can filter by building, type, and capacity or filters to identify rooms to reserve.
- Select the desired space to add it to the Room or Location field.
Click Send to create the meeting invite.

- Congratulations! You have created a meeting invite with recurring room reservation for longer than six months in Outlook.