To enhance your work within Outlook, there are numerous add-ins that can be installed to help you get things done right from your inbox. The following are a list of popular add-ins approved for use at UCSF:
- DocuSign for Outlook - Sign or get signatures for any document in Outlook
- Zoom for Outlook - Enable users to add a Zoom meeting to any Outlook calendar event
- Report Phish - With the click of a button, users can report a phishing or malicious message.
How Do I Use Add-ins for Outlook?
Choose the option that applies to you:
Requesting Add-ins for Outlook
If you are interested in an add-in that does not currently appears on the list above, please refer to the Enhancement Request Procedure page before submitting a request with the UCSF IT Service Desk.
Requests are reviewed for:
- Cost
- Security
- Support
- Roadmap impacts of each request
- Compatibility between versions of Outlook clients (e.g. Desktop and web) and operating systems (e.g. Windows and Mac)
We work with the Collaboration Tools Subcommittee of the IT Governance Committee on Business Technology to prioritize enhancements.
Installing Add-ins for Outlook
The following steps will provide insight into the process for installing the approved add-ins for Outlook noted above:
NOTE: Add-ins can be installed for the web version of Microsoft Outlook. Learn more about Using add-ins in Outlook on the web.
- Launch the Microsoft Outlook desktop application
NOTE: Users must be logged in via VPN to use the desktop version of Outlook
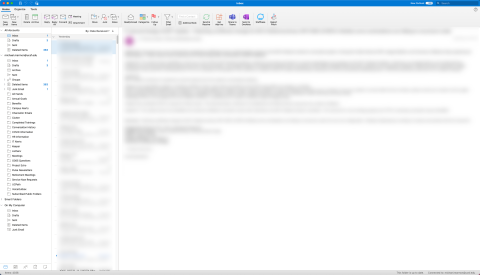
- Select the Get Add-Ins button from the Outlook ribbon

- Click the Admin-managed tab
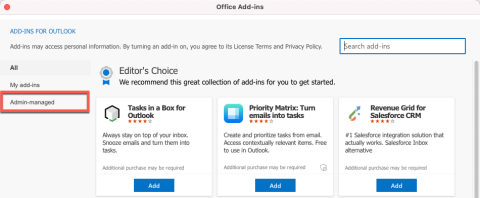
- Locate the desired add-in
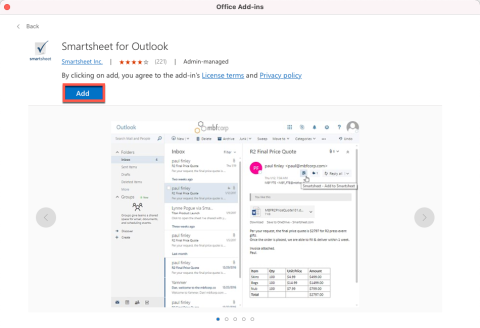
NOTE: Select the title for the add-in to review more information about it - Click the Add button to begin the installation process

- Select the Continue button to agree to the license terms and privacy policy for the add-in
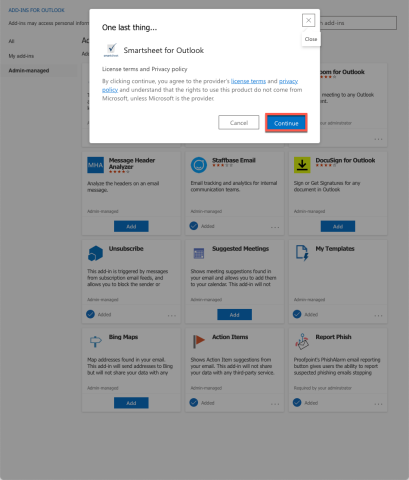
- When the card for the selected add-in updates to show a checkbox, it has been installed successfully

- Close the Office Add-ins window
- Click the Icon for the recently installed add-in

- Log into the add-in with your UCSF credentials to begin using it.

Removing Add-ins from Outlook
If an add-in is not being used any longer, it can be removed from the Microsoft Outlook ribbon by completing the following steps:
- Launch the Microsoft Outlook desktop application
NOTE: Users must be logged in via VPN to use the desktop version of Outlook - Select the Get Add-Ins button

- Click the My add-ins tab
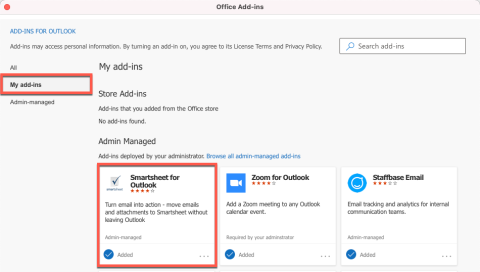
- Locate the desired add-in to remove
- Click the Name of the add-in
- Click the Remove button
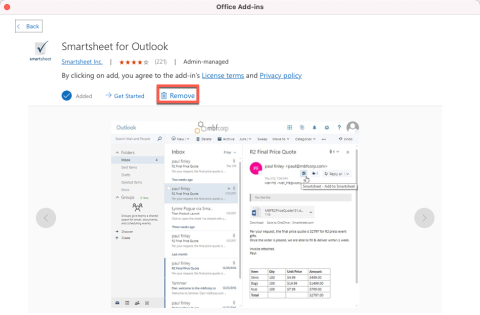
- Once the add-in has been removed, the Add button will re-appear