Summary
This document details the badge registration process and how to access LRS Secure Print (Follow You Print) and Secure Scan.
BADGE REGISTRATION
On the control panel of the Ricoh printer, you will see a Login screen.

Please swipe your RFID-enabled badge on the card reader.

- If your badge is not already enrolled, the screen will display Card not enrolled, would you like to enroll in this card?
Select Enroll. Badge registration is a one-time occurrence.

Use your email or domain login credentials to register the badge.
Touch the box Username and enter the appropriate username based on the screenshot below.
NOTE: Use the CORE domain login credentials for BCH Oakland PCs and printers.
Select the Password box and enter the password associated with your domain account entered in the Username box.
Select Next

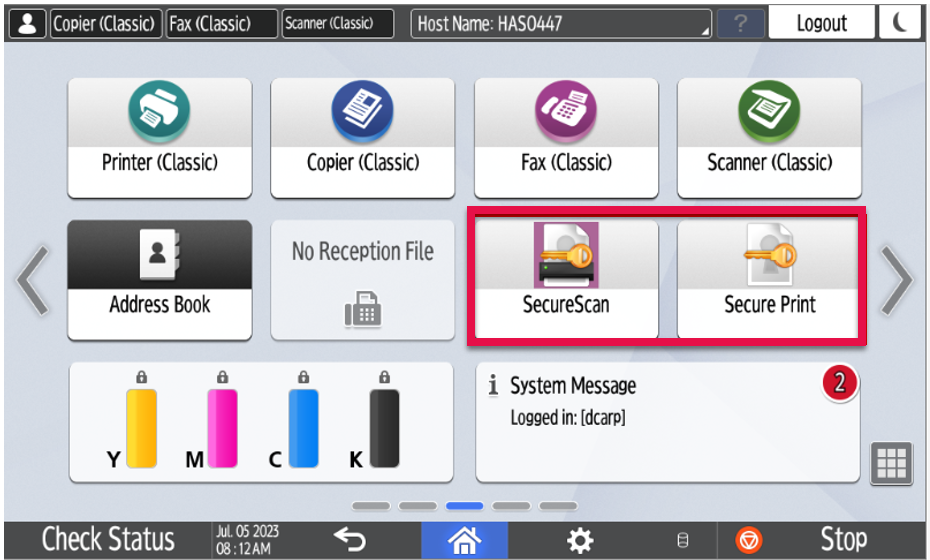
You have successfully registered your badge when you are returned to the Home Screen and see the Secure Scan and Secure Print displayed.
Secure Print and Release
Once your badge is registered for LRS Secure Print, you can access your print job from any Ricoh Multifunction Secure Print-enabled device.
How to Release Your Prints
- Send your print job to SECUREPRINT_RICOH-VPSXPRD from your workstation.
- You may be prompted to log into Personal Print Manager (PPM) to associate the print job with your registered badge.
- Log into PPM using the same login credentials used to register your badge. See BCH Oakland Personal Print Manager (PPM) Quick Setup Guide for more details.
Swipe your registered badge on the printer.

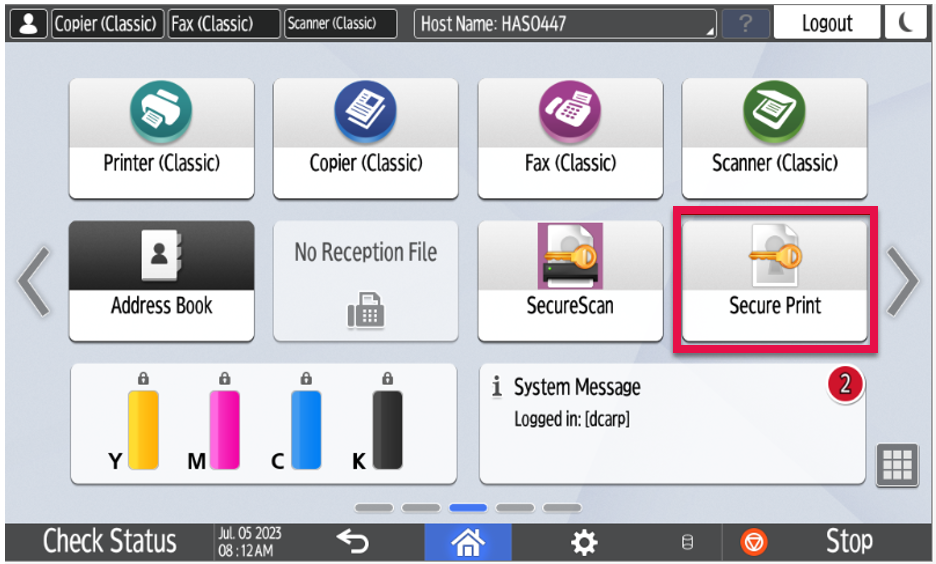
Select the Secure Print icon on the Home Screen.
Choose the prints you would like released.
— Select Print All to release all the stored documents.
— Select Print to release just the selected document.
— Select Print-Keep to release the selected document and retain it in the Print Queue for release later.
— Select Delete to remove a document from the print queue.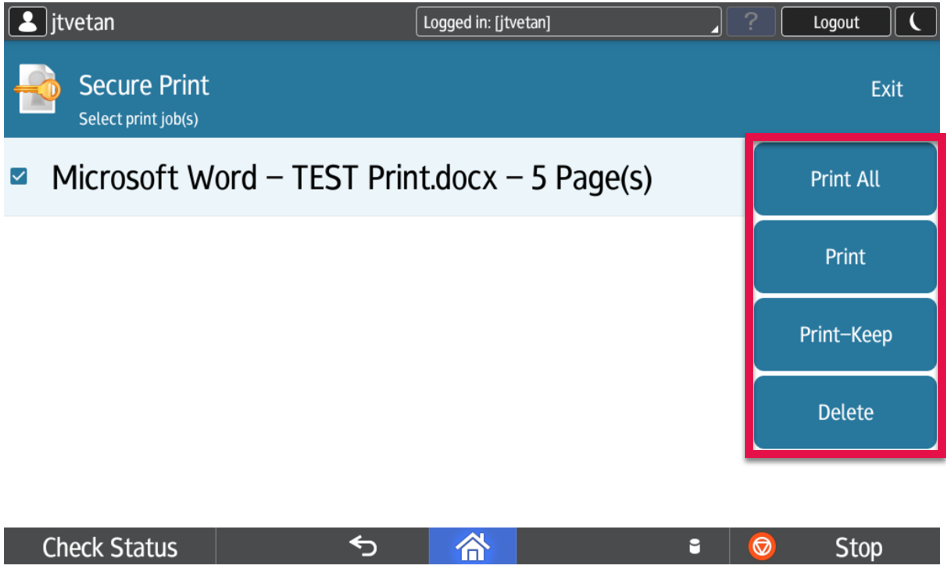
- Swipe your badge once more to Log Out and be returned to the login screen.
SECURE SCAN
Swipe your registered badge.

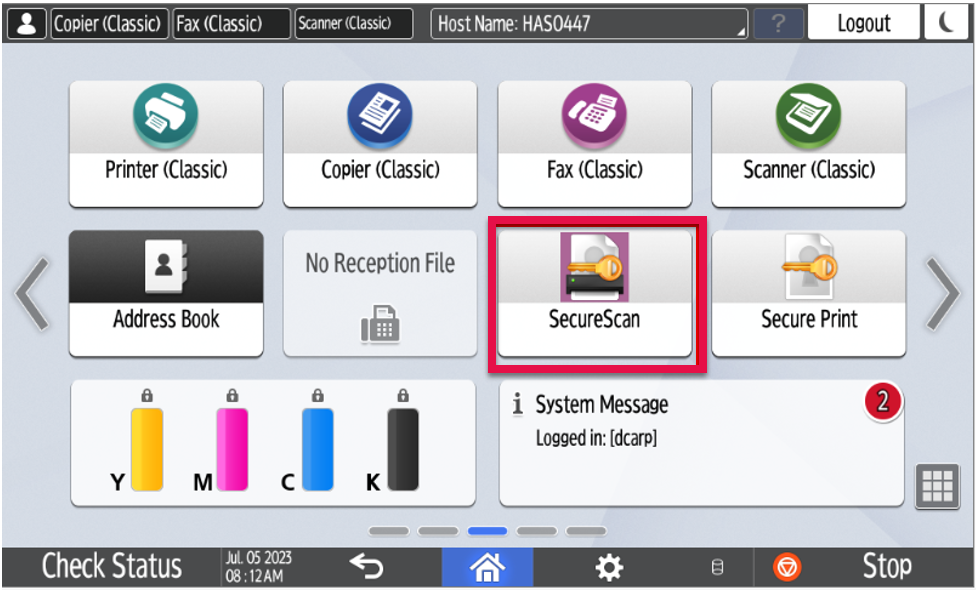
Select Secure Scan on the Home Screen.
From the main Secure Scan screen, you will have two options: Scan to Me (your system-registered e-mail address) or Scan to Email (specify an e-mail address to send to).
- Begin by selecting an option.

- After selecting an option, hit the blue Scan button on the right-hand side.
- Swipe your badge once more to Log Out and return to the login screen.
Copy and Fax Features
Swipe your UCSF badge on the card reader.
Select Copier (Classic) and Fax (Classic)

- Swipe your badge once more to Log Out and return to the login screen.